CakeSpy for Craftsy: Delicious Maple Walnut Scones Recipe

In general, I don't like scones. Because most of them are like cardboard with icing, especially at commercial coffee shops.

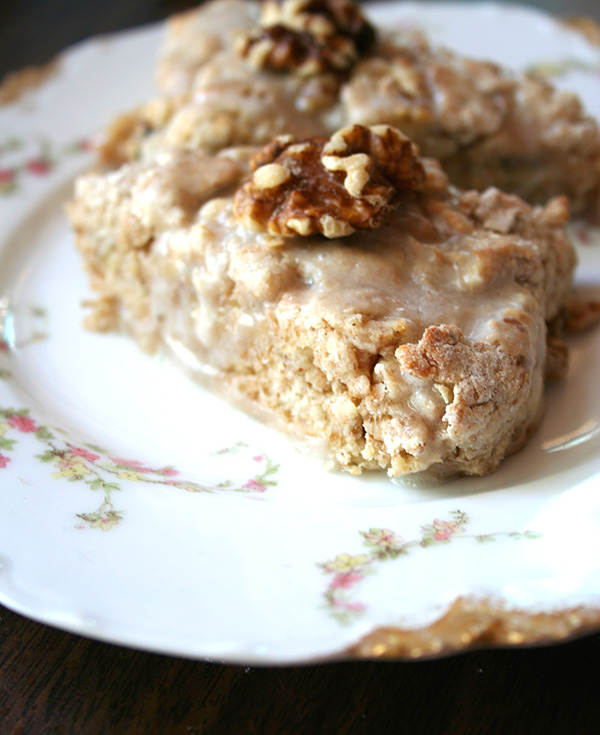
But homemade is a different thing entirely. Homemade scones are biscuit-y, crumbly, and nice and hefty and rich. And this recipe, for maple walnut scones with maple glaze (made using the good stuff, from Vermont!), is a winner.

They're easy to make and will make your mouth happy, so what are you waiting for?

Find the recipe here. 

Za'atar Bread Recipe Inspired by Bedouin Tent in Brooklyn

I know you typically come to this site for sweets, but I need to tell you something. Za'atar bread is where it's at, man.

If you've never heard of za'atar spice, let me briefly explain.

Za’atar is a spice mix which is in frequent rotation in Middle Eastern cooking. It can be used as a flavoring ingredient in a recipe or treated as a condiment. In this za’atar bread recipe, it’s the key ingredient.

Typically, the flavorful mix includes thyme, sesame seeds, and sumac, but it’s one of those things that everyone mixes just a little differently. Some mixes may include oregano or marjoram; some might even call for lemon zest. There isn’t necessarily a right or wrong; it’s something that if you decide to make yourself, you can play with the ratio of ingredients to find the precise mix that works for you.

This recipe is based on a type of bread served at Bedouin Tent, the Middle Eastern restaurant in Brooklyn I worked at during college. If I do say so myself, I did a pretty good job.

Recipe here. 

Homemade Ruby Gem Candy a la Erin Bakes

Homemade candy gems

Your snacks should be just as fancy as you are. And you're fancy, I can just tell.

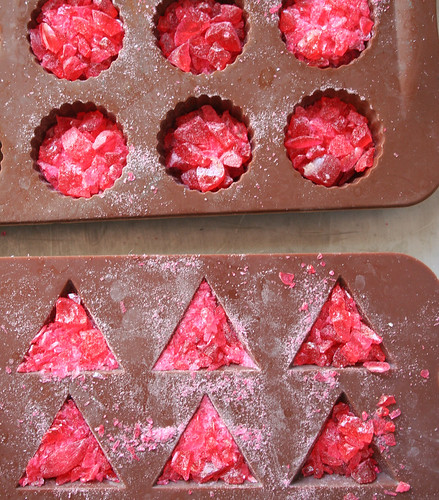
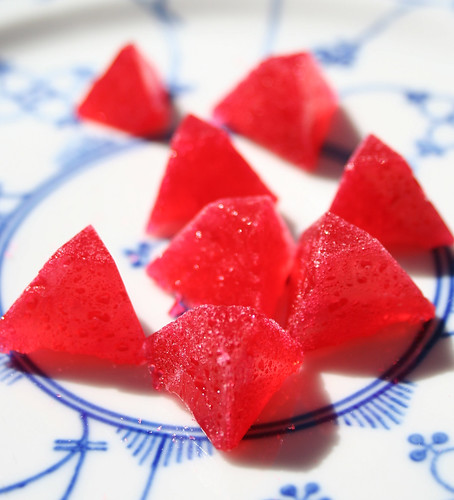
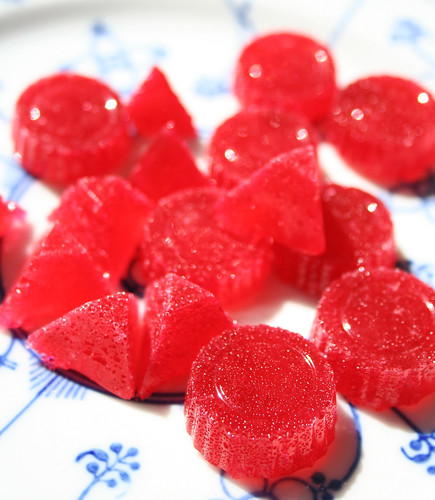
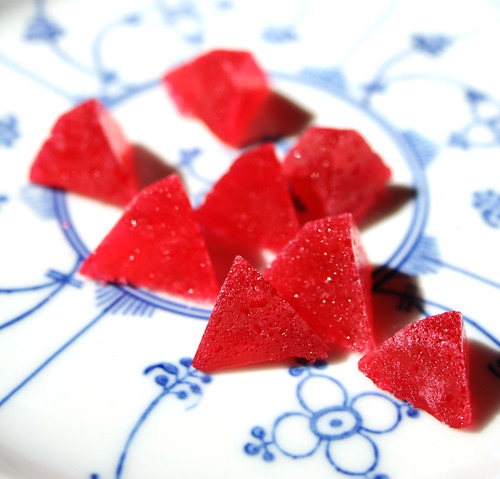
While diamonds are dandy, rubies make a more delightful inspiration for candy. These bright red candy gems look super fancy, but don't require a trip to Tiffany or Cartier to obtain. All you need is a candy mold, a little time, and hopefully some aggression (don't worry, I'll explain). 

Homemade candy gems

This easy and fun craft/snack is inspired by Erin Gardner, a cake decorator extraordinare who led me through the process on her awesome blog, Erin Bakes.

Homemade candy gems

Candy gems

Adapted from Erin Bakes

  • red translucent hard candies (I used Brach's cinnamon candies, but you could use jolly ranchers or life savers)
  • Small zip-top bags
  • Rolling pin
  • a heatproof candy mold with gem-like vessels

Procedure

  1. Position a rack in the middle position of your oven. Preheat the oven to 275 degrees F.
  2. Unwrap a bunch of candies and place them in your sturdy bag.
  3. Using the rolling pin, take out your aggression (remember? You need it now!) on the poor candy that never did anything to you. Go ahead, show it who's boss. 
  4. Since I used a silicone mold, I didn't grease the vessels, but Erin Bakes suggests that if you use a more firm candy mold, you should "Spray pan spray onto a paper towel and use the greased towel to wipe the cavity of your gem mold. This provides enough of a barrier to pop the gem out later, but not so much grease that it makes your gems cloudy."
  5. Fill the molds with your candy bits. 
  6. Gently place the filled molds on top of a cookie sheet, then pop it in the oven. Heat for as little as 5 minutes, or as much as 15 minutes, depending on the sturdiness of the candy you use (start checking after 5 minutes). It will progress from droopy candy to totally melty. Once totally melty, remove the pan from the oven. Erin advises, "If the gem is not as full as you’d like, sprinkle in a little more candy and place the tray back into the oven for another minute or so. Just long enough for the additional candy to melt."
  7. Let the molds cool for several minutes before handling the molds. About 10-20 minutes after they've been removed, your candies will be ready to remove. I simply inverted the mold and kind of squeezed them out. 

Ruby gem candy

You've got yourself a glamorous little snack here! 

Cadbury Creme Salade Nicoise

Easter Salade Nicoise

Right here, right now, I'd like to give you permission to Cadbury Creme-ify your salad. 

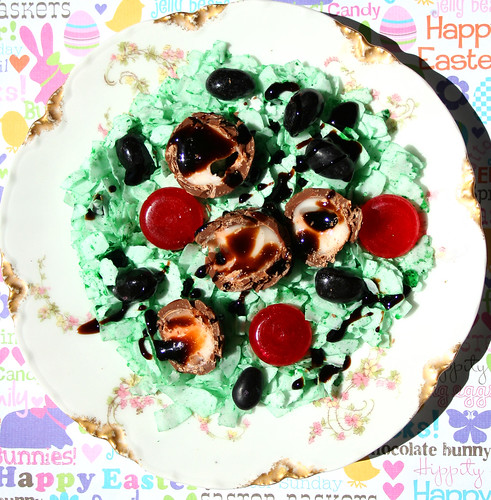
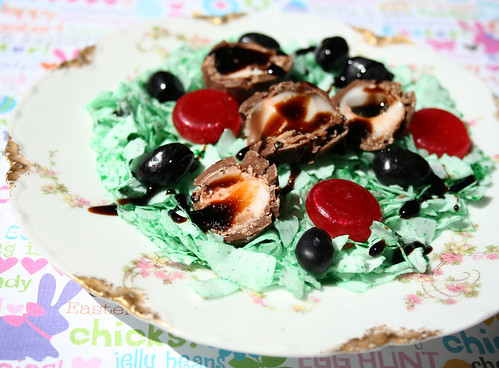
Easter is coming, and Spring makes everyone excited about fresh produce. Well, you can share your excitement about vegetables, while not actually consuming any, with this totally sweet salad. Green tinted coconut acts as a bed upon which "tomatoes" of red candy, "olives" of black jelly beans, and a drizzle of chocolate as "vinaigrette". Since the signature aspect of the Niçoise salad is hard boiled egg, this indulgent version is topped with slivers of Cadbury Creme Egg. 

If anyone asks why it doesn't have tuna, well, I don't really like it on salad, so there you go.

Easter Salade Nicoise

Just don't eat too much, because you don't want to ruin your appetite for dessert! 

Here's how you do it. 

Cadbury Creme Salade Niçoise 

Makes 1

  • Approximately 1/2 cup coconut, tinted green (I used wide flakes)
  • 3-4 red hard candies
  • 6-8 black jelly beans
  • One Cadbury Creme Egg
  • Melted chocolate, for drizzling

Procedure

  1. Place the Creme Egg in the fridge for about 15 minutes. This will firm it up for when you cut it.
  2. Meanwhile, place the green tinted coconut on an appropriately sized plate.
  3. Place the red candies and jelly beans in regular intervals over the top of the "lettuce".
  4. Once the Creme Egg has chilled, slice it into 4-5 coins and place them on the salad.
  5. Drizzle with melted chocolate, and serve. 
  6. Easter Salade Nicoise

If you enjoyed this, you may also enjoy my tutorial on how to make a candy salad.

Happy Easter!

Cadbury Creme Egg Rolls

Calm down. They're just Cadbury Creme Egg Rolls.

WAIT. CADBURY CREME EGG ROLLS!?! I AM A GENIUS. 

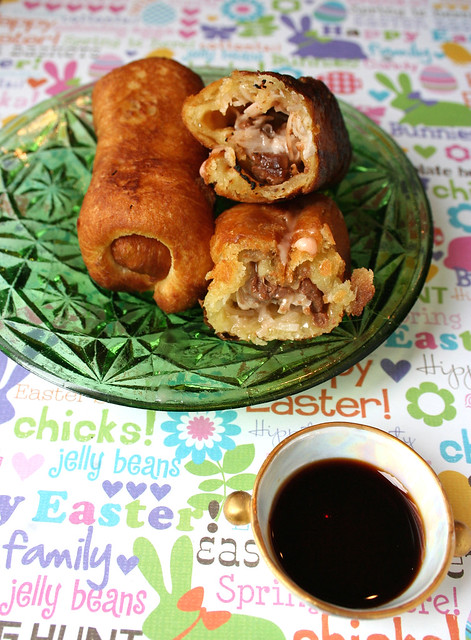
I know, all caps are annoying. But in the case of the last series of words, it was necessary. Because Easter has come early this year with my tastiest Creme Egg creation yet: Cadbury Creme Egg Rolls. 

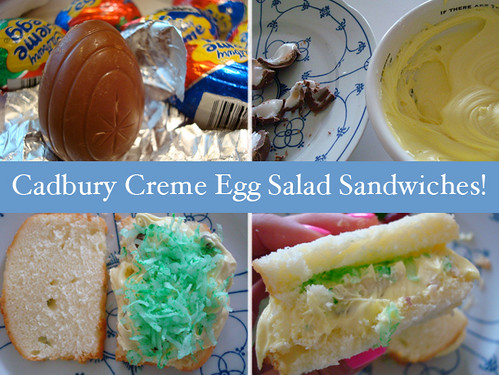
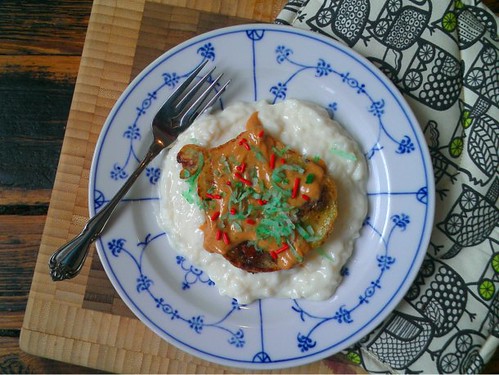
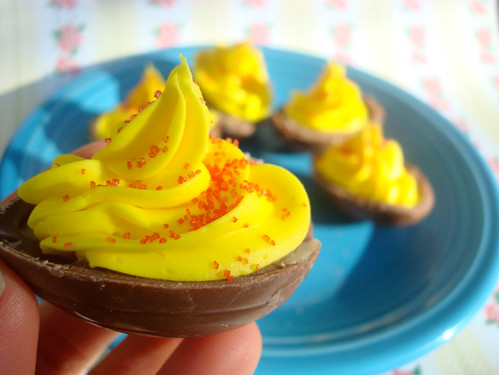
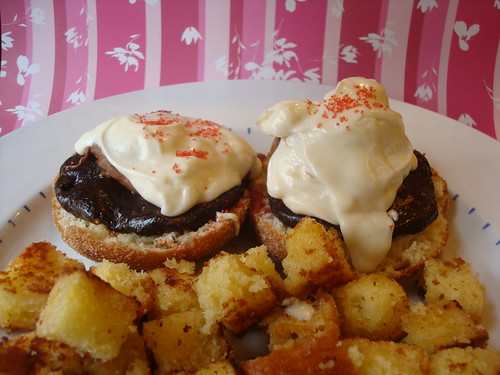
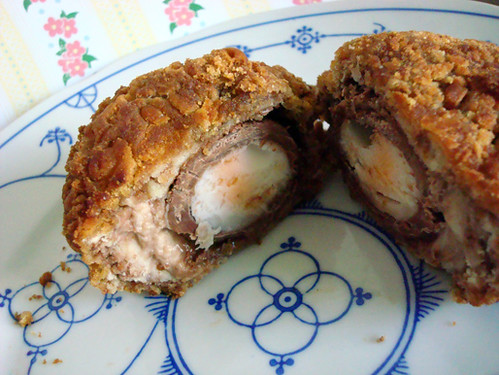
I've delved into Asian-meets-Creme-Egg fusion before, with my Cadbury Creme Egg Foo Young recipe from a few years ago. I've also re-created many specimens of classic cuisine with a sweet twist, including Cadbury Creme Egg Salad, Cadbury Creme Deviled Eggs, Cadbury Creme Eggs Benedict, Cadbury Creme Scotch Eggs, and of course, Cadbury Creme Egg in Hole Toast

But these? These are special. Because they are fried, can be served with sauce, it's true, but mostly because, well, just look at them. 

Cadbury Creme Egg Rolls

The best news is that if you want to make Cadbury Creme Egg Rolls, you don't need a lot of time or ingredients. Really. Let me tell you how.

First, you'll grab four Cadbury Creme eggs, a tube of pop-n-bake crescent rolls, and some flaked coconut. You'll rustle up a large pan and put a bunch of oil in it. 

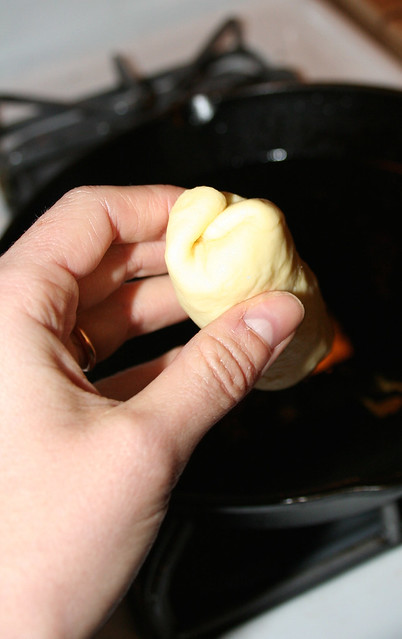
Then, you'll engage in a montage (80s music encouraged) involving these steps to assemble your egg rolls (don't worry, the full recipe is below).

Once you've done that, you'll heat up the oil and get your egg roll tossin' hands ready*... 

(* = don't actually toss. Gently place them in the oil. Don't ruin your pretty face with hot oil spatter, please.) 

Cadbury Creme Egg Rolls

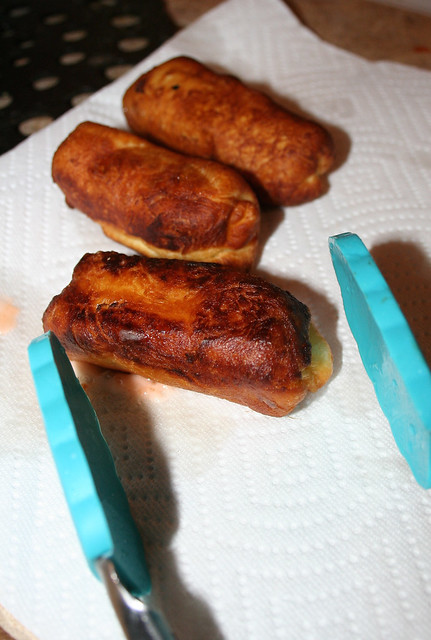
and fry them to golden perfection. Let them cool slightly then enjoy the gooey rewards contained within. 

Cadbury Creme Egg Rolls


Cadbury Creme Egg Rolls

  • 4 Cadbury Creme Eggs
  • Flaked coconut (half a cup or so)
  • 8 crescent rolls from a package

 Procedure

  1. Put the Creme Eggs in the freezer for about 10 minutes. This will help them become firm when you chop them in a bit.
  2. Unroll the crescent rolls, and divide into 8 perforated portions. Ignore the triangle shape, and mush each one into a ball. 
  3. Using a rolling pin, roll the dough as thin as it will go without seeming like it will break. 
  4. Place some coconut on top of the rolled dough. 
  5. Your Creme eggs are ready about now, I'd say. Take them out of the fridge, and cut each egg in half. You now have 8 portions. 
  6. Cut each portion coarsely, and put it along the coconut on the spread crescent dough. 
  7. Roll it up, burrito-style. Here's how:
  8. Heat up the oil. Once you think it's hot, test it by tossing a little crumb of crescent dough inside. If it starts bubbling furiously, you're good to go.
  9. Fry each one (don't do more than 2 at a time, it's just easier to manage that way) until golden on both sides.
  10. Remove from the frying pan and set on paper towels to blot excess oil.
  11. Enjoy warm. Serve with melted chocolate sauce for dipping, if desired (suggested). 

You may also like:

Cadbury Creme Egg Salad

Cadbury Creme Egg Salad

Cadbury Creme Egg Foo Young

Cadbury Creme Egg Foo Young

Cadbury Creme Deviled Eggs 

Cadbury Creme Deviled Eggs

Cadbury Creme Eggs Benedict

Cadbury Creme Eggs Benedict

Cadbury Creme Scotch Eggs

scotch eggs

Cadbury Creme Egg in Hole Toast

Cadbury creme egg in hole toast

 Would you eat a Cadbury Cream Egg roll?

Gluten-Free Chocolate Bundt Cake

There is no good reason to not have cake in your life. 

If you're gluten-free and eating cake made with cake flour is not good for your health, you might have to bake a little differently, but ultimately, your favorite treats should not be off limits. The new book Gluten-Free Flour Power: Bringing Your Favorite Foods Back to the Table wants to enable you to bring your favorite desserts back into your life. 

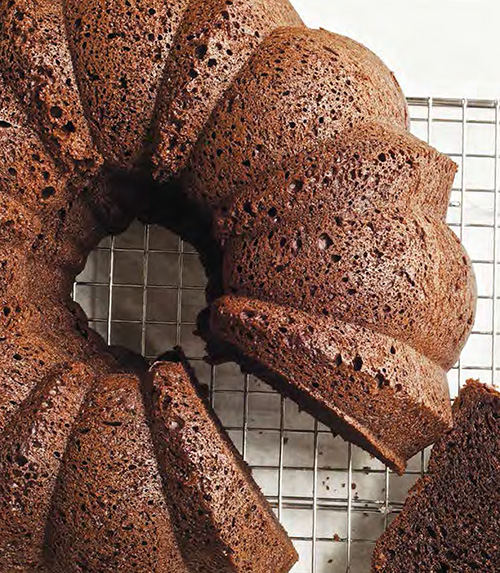
This guest recipe for chocolate bundt cake is a very special one indeed, rich and dense and practically perfect in every way. And plus, it gives you the opportunity to say "I like big bundts and I cannot lie".

Yep. With that, here's the recipe.

Jenny’s chocolate bundt cake

makes 1 small Bundt cake

We created this for Jenny, a family member and good friend. She was diagnosed with celiac disease a few years ago and was worried that she’d never enjoy our cakes and cookies again. This cake is one of the first things we made for her, and it quickly became a favorite. It’s moist and chocolaty, with a tender crumb. Aki likes just a dusting of powdered sugar instead of icing.

  • 2 cups / 260 grams Gluten-Free Flour Blend (recipe below)
  • 1 cup / 85 grams high-quality natural cocoa powder
  • 16 tablespoons (2 sticks) / 8 ounces / 225 grams unsalted butter, at room temperature
  • 2 cups / 400 grams granulated sugar
  • 1 teaspoon / 6 grams fine sea salt
  • 1 teaspoon / 5 grams baking soda
  • ½ teaspoon / 3 grams baking powder
  • 4 large eggs, at room temperature
  • 1 cup / 225 grams buttermilk, at room temperature
  • ¼ cup / 30 grams powdered sugar for dusting

Procedure

  1. Preheat the oven to 350°F. (180°C.). Butter a 7½-inch (6-cup) Bundt pan and dust with flour.
  2. Whisk together the flour and cocoa in a medium bowl. Set aside.
  3. Put the butter, granulated sugar, salt, baking soda, and baking powder in the bowl of a stand mixer fitted with thepaddle attachment (or use hand mixer) and beat on low until light and fluffy. Add the eggs one at a time, mixing until each one is fully incorporated before adding the next.
  4. Add one-third of the flour mixture and mix until just blended.Add half the buttermilk and mix until just blended. Repeat with half of the remaining flour mixture, followed by theremaining buttermilk, and then the last of the flour mixture. Scrape the batter into the prepared cake pan.
  5. Bake for 55 to 65 minutes, until the cake springs back when lightlytouched and a cake tester inserted in the center comes out clean; the internal temperature should be 203° to 208°F.(95° to 98°C.).
  6. Let cool in the pan on a rack for 15 minutes, then turn out onto a rack to cool completely. Just before serving, dust the top of the cake with the powdered sugar. The cake will keep in an airtight container for up to a week.

Gluten-free flour blend: "What Iif" blend

makes 15½ cups / 2020 grams flour blend

What if you had a gluten-free flour that worked in any recipe as a gram-forgram substitute for all-purpose flour? That was the question was asked ourselves when we developed this blend. “IiF” stand for Ideas in Food, our blog, where we published the very first version of this recipe. Alex came up with it for fun after reading the ingredient list on Cup4Cup flour (developed by Lena Kwak and chef Thomas Keller), and it worked beautifully. It’s gone through a few changes since the original, hence the 3.0, but it remains the easiest gluten-free blend to work with. It mimics all-purpose flour in recipes and for that reason, using a gram-for-gram substitution in any traditional recipe will give you comparable results.

  • 700 grams cornstarch
  • 500 grams tapioca starch
  • 300 grams white rice flour
  • 200 grams brown rice flour
  • 200 grams nonfat milk power
  • 100 grams potato flour
  • 20 grams xanthan gum

Whisk together all the ingredients in a bowl. Store in airtight container at room temperature for up to 6 months.

Reprinted from Gluten-Free Flour Power: Bringing Your Favorite Foods Back to the Table by Aki Kamozawa and H. Alexander Talbot. Copyright © 2015 by Aki Kamozawa and H. Alexander Talbot. With permission of the publisher, W. W. Norton & Company, Inc. All rights reserved.

How to Make Paleo Coffee, AKA Bulletproof Coffee

Paleo coffee DIY

When I was in Asheville, several of my yoga school classmates became hooked on something sold at the Whole Foods nearby called "Paleo Coffee". Well, I didn't have too much interest in it until someone told me it contained butter.

What? Coffee with butter? That sounded awesome!

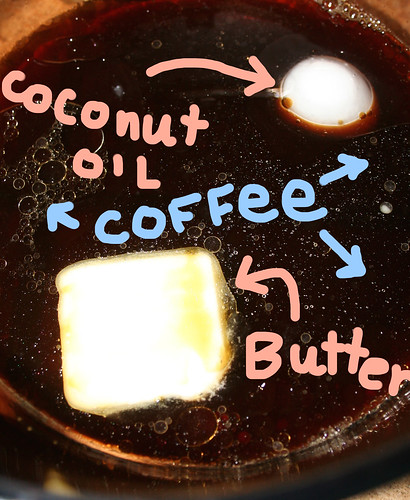
I was intrigued, and when I tried the stuff, I found that it was quite agreeable. Turns out, it was not only butter but coconut oil in addition that gave the coffee its rich, creamy flavor. Yes, I liked the stuff.

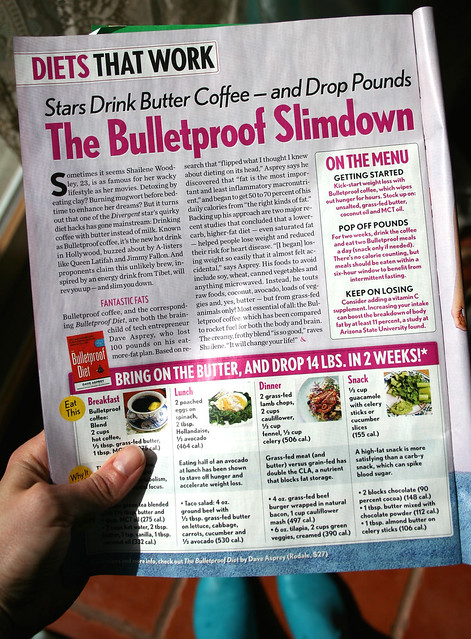
After Asheville, I promptly forgot about it until I happened upon this article in In Touch Weekly (one of my guilty pleasures fo'sho). I had to roll my eyes at it a bit, but then again, I have to say that the butter diet is one of the better ones I've come across. 

Paleo coffee DIY

They called it "bulletproof coffee" but it was the same thing that Whole Foods in Asheville had deemed Paleo Coffee. Either way, I think this stuff is worth a try. It's far cheaper to make it at home (I've seen it for sale between $4 and a whopping $8 per cup) and it's pretty delicious. While I will never ever suggest a fad diet to you, I think that this buttery coffee is a curiosity that is worth trying at least once! 

Paleo coffee DIY

Paleo Coffee, or "Bulletproof" Coffee

inspired by In Touch Weekly and Greenlife of Asheville 

  • 2 cups (16 oz) hot brewed coffee
  • 1 tablespoon coconut oil
  • 1 tablespoon butter (I used unsalted) 

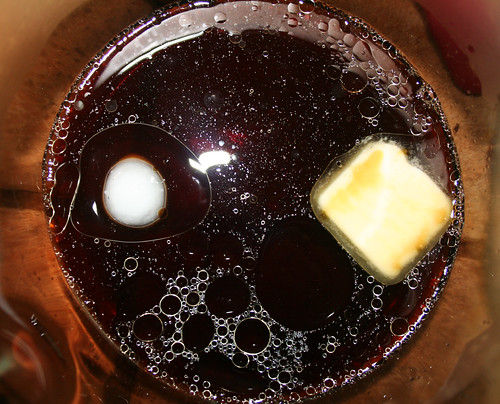
Procedure: It's as easy as combining all of the ingredients, but I will give you a few small tips. First, you'll definitely want to use super hot coffee, because it needs to be hot to allow the coconut oil, which is solid at room temperature, become liquid, and the butter to melt. Second, I suggest pouring the mixture into a bowl and mixing it all together with a whisk, because if you just stir with a spoon in the cup, it won't be vigorous enough to make the butter droplets go away. I find that it just looks better when mixed thoroughly.

Paleo coffee DIY

Finally, be sure to drink it while it's quite hot. The fat will begin to separate as it cools, making for a less appetizing visual.

Have you ever tried bulletproof or paleo coffee? 

Actually Good: Stout Beer Ganache

Do you like beer? 

Beer ganache

In general, I do not. But in recent years I have come to appreciate a few what I will call "fancy beers" - the type that cost more than the average six pack, have the word "handcrafted" somewhere on the packaging, and that the average football watching dude would probably scoff at. 

The only problem is that a lot of the fancy beers only come in 22 ounce bottles. Now, as an occasional beer drinker, this is an insanely large quantity to me; I have never and probably will never be able to finish an entire bottle. And as it simply isn't the same the next day (flat!) and I'm the only one in my house who drinks it, it has been relegated to "occasional" treat, and I usually end up throwing out the un-consumed portion. 

I hate waste.

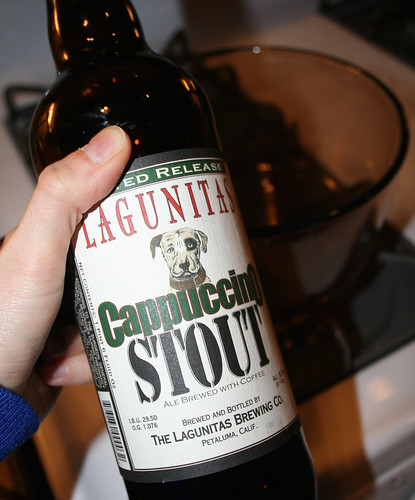
So the last time I bought a fancy-ish beer called Cappuccino Stout, I had some, and then decided to experiment with the rest.

What would happen if I substituted fancy beer for cream in a ganache recipe? What would beer ganache taste like? 

Well, given the success of chocolate stout cupcakes, I figured there was a chance that I could be successful. So I heated up the beer, and then mixed it with mixed dark and milk chopped chocolate in an equal quantity. 

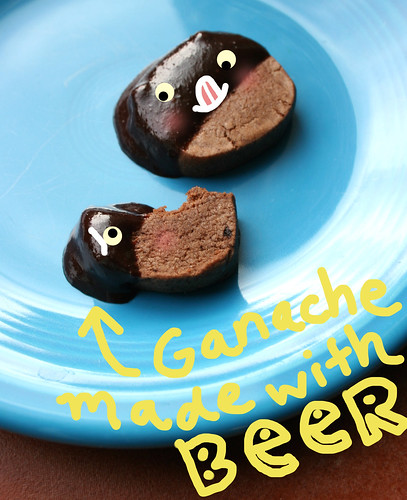
I let it sit until it firmed a bit, and here's what it looked like.

Beer Ganache

And as for the taste? Surprisingly good. Like, actually good. The beer didn't so much taste beer-y anymore, but it more imparted a malty, caramelly taste to the chocolate. If I had been given a sample and you'd asked me to do a blind taste, I would have said that it was some sort of malted chocolate sauce.

Stout beer ganache is definitely worth your time. I think I'll try it on top of brownies next! 

Actually-Good Beer Ganache

Note: you can use whatever quantity you like, as long as the beer and chocolate are in equal weights. 

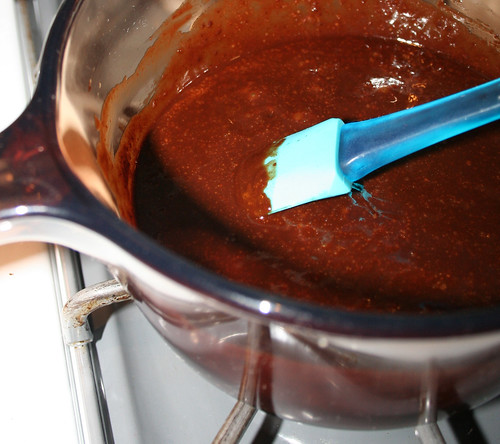
  1. Put the beer in a saucepan over medium heat until it begins to bubble (not to be confused with the fizz), like it's just shy of boiling. 
  2. Beer Ganache
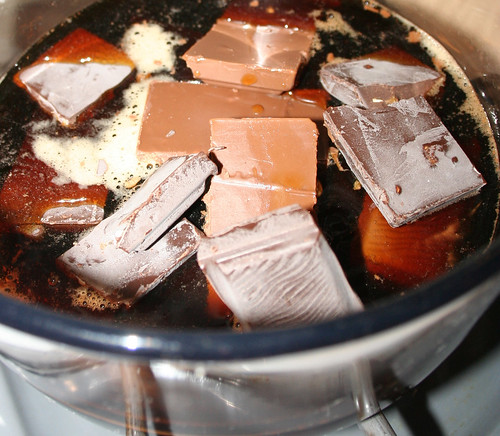
  3. Either add the chocolate to the pan, or pour the hot beer over chocolate in a heatproof bowl.
  4. Beer Ganache
  5. Mix until combined, and the chocolate has melted.
  6. Let set until it has reached cool room temperature. Enjoy as a cake filling, icing, or as a tasty dip for cookies.
  7. Beer Ganache

Would you ever try beer ganache?

Last Meal-Worthy: Snickers Cheesecake Recipe

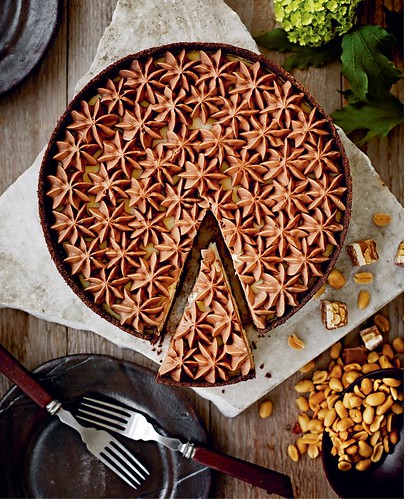
Snickers cheesecake

"If I could only eat one pie for the rest of my life, I would choose this one. It’s so incredibly good!" - so says Roy Fares in the headnote for this recipe, featured in the new book United States of Cakes: Tasty Traditional American Cakes, Cookies, Pies, and Baked Goods. I am pretty into this book so far. For one thing, it's beautiful eye candy: I could look at the pictures of cakes and places all day--it speaks to my sweet tooth and wanderlust tendencies.

Now, the title might be a bit misleading - while you might be picturing sweets from sea to shining sea, the book is mostly set in Southern California. The author, Roy Fares, is an international pastry chef celebrity, and on his travels, the Los Angeles area intrigued him quite a bit--so he settled there to bake through some American favorites. It's a beautiful book, but don't expect a book like United Cakes of America: Recipes Celebrating Every State. DO expect some delicious and decadent desserts, like the one featured below. 

Snickers Cheesecake

Makes 12 pieces

Pie Shell

  • 15 (200 g) graham crackers
  • 1/3 cup + 1 tbsp (100 g) butter
  • 1⁄4 cup (40 g) sugar
  • 11⁄2 tbsp (10 g) cocoa powder
  • 1⁄2 tsp (3 g) salt
  • Cheesecake Filling
  • 1⁄2 tsp vanilla extract
  • 2 1⁄2 cups (600 g) cream cheese
  • 3⁄4 cup (180 g) sugar
  • 2 tbsp (20 g) all­ purpose flour
  • 1⁄4 cup (59 mL (50 g)) whipping cream
  • 2 (30 g) egg yolks
  • 2 (110 g) eggs
  • 1 1⁄2 (80 g) Snickers bars
  • 1⁄2 cup (60 g) salted peanuts

Frosting

  • 1 1⁄4 cups (300 g) cream cheese
  • 2 tbsp (15 g) cocoa powder
  • 3⁄4 cups (120 g) confectioners' sugar
  • 1⁄2 tsp (11⁄2 g) vanilla extract
  • 1⁄4 cup (50 g) whipping cream

Garnish

  • Pieces of Snickers
  • Salted peanuts
  • Optional, cocoa powder for Dusting

Make the Pie Shell

Preheat the oven to 350 degrees Fahrenheit (180 degrees Celsius), convection function. Run the cookies in a food processor until they become fine crumbs. Melt the butter and add it. Add a little more butter if you think that the mixture is too dry to work with. Line a springform, 9 inches (23 cm) in diameter, with the crumbs, create an edge of about 11⁄2 inches (4 cm) high. Flatten the surface a little with the back of a tablespoon. Bake in the center of the oven for 7 minutes. Allow to cool.

Make the Cheesecake Filling

Preheat the oven to 400 degrees Fahrenheit (200 degrees Celsius), convection function. Beat the cream cheese, sugar, vanilla extract, and flour in a bowl until fluffy. Whisk in the cream. Fold in the egg yolks one egg at a time with a spatula. Cut the Snickers into pieces and spread them over the bottom of the pie shell along with the peanuts. Pour the cheesecake mixture on top and smooth with a spatula. Bake in the middle of oven for 10 minutes. Reduce heat to 200 degrees Fahrenheit (105 degrees Celsius) and bake for 35 minutes (do not open oven door). Turn off the oven and let the cheesecake stand in the heat for another 25 minutes (which reduces the risk of cracking). Remove and let cool completely. Let the cheesecake stand in the fridge for at least 6 hours, preferably overnight, so that it hardens properly. Run a thin knife around the form’s edge before it is removed. Rinse the knife with hot water a few times during that process.

Make the Frosting, and finish up

Mix all the ingredients except the cream in a bowl and whisk until the mixture feels fluffy. Whip in the cream in batches until it becomes a smooth frosting. Pipe or spread the frosting over the cheesecake. Garnish with Snickers chunks and peanuts and, if you like, dust with cocoa powder.

What dessert would you choose if you knew it would be your last meal?
Panettone Monte Cristo Sandwiches

I made something savory. Deal with it.

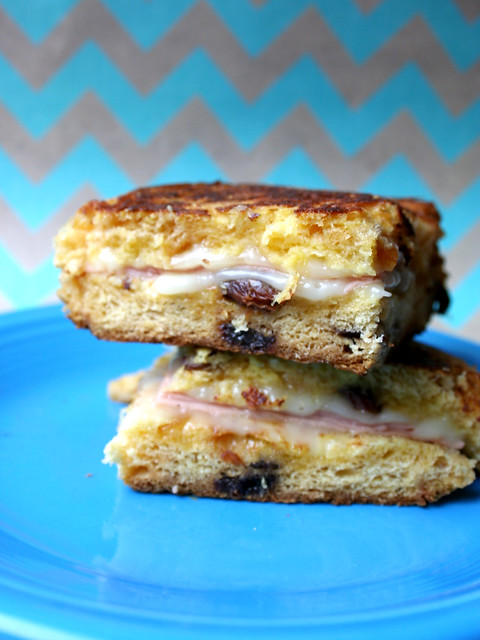
Monte Cristo sandwich

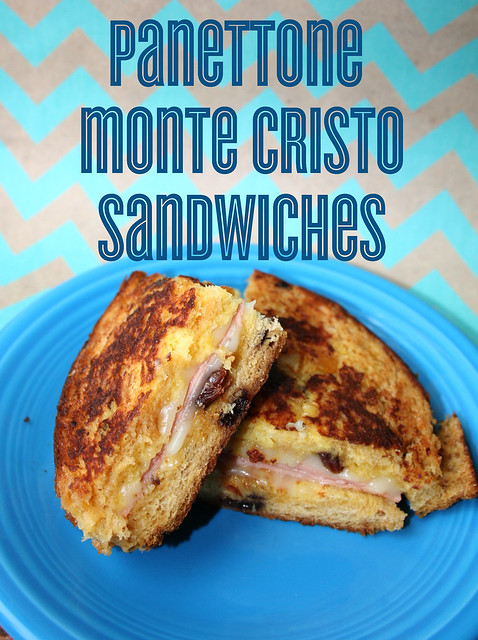
Well, as savories go, this Monte Cristo-inspired sandwich is sort of a crossover. The traditional sandwich features meat and cheese on bread, which is battered French toast style, toasted, and often served with confectioners' sugar and jam. So it's got one foot in the dessert world, even if technically, it's a savory food. 

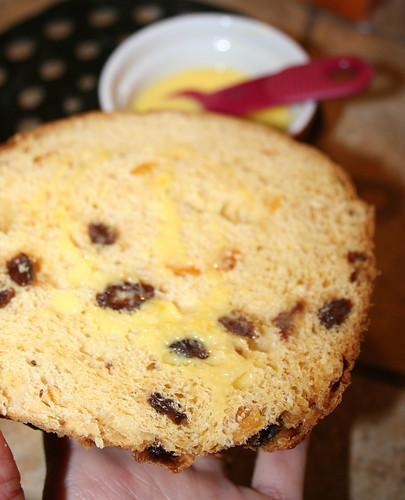
Honestly, I don't know why Monte Cristo sandwiches served on panettone aren't a thing. Monte Cristo sandwich The lightly sweet, spongey bread is the absolute perfect carbohydrate for this sandwich: absorbent enough to get crispy and flavorful once toasted with the egg mixture, and with little fruits and bits and bobs which make the whole sandwich more interesting.

If you still think it's totally inappropriate that CakeSpy made something savory, well, I have this to say: you have to warm up for dessert somehow. 

As hybrid foods that span sweet and savory go, this is an indulgent and delicious one. Here's how you make it. 

Monte Cristo sandwich

Panettone Monte Cristo

Makes one large sandwich (suitable for sharing; or, double or triple the recipe)

  • 1 egg
  • 1 tablespoon milk or water
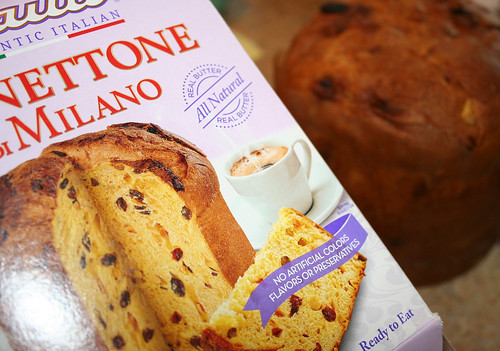
  • 2 thick slices of panettone (I used Bauli Pandoro Panettone di Milano, and cut "coins" off of the circular loaf)
  • a few slices of ham
  • a few slices of cheese
  • mayonnaise and mustard to taste
  • jam on the side, if desired 

 Procedure 

  1. Mix together the egg and milk in a shallow bowl. 
  2. Place a medium saucepan over medium heat. Melt a knob of butter in the pan. 
  3. Brush the first slice of pannettone with the egg mixture on both sides, and place it in the saucepan. Reduce heat to medium low. Toast each side until lightly browned, and remove from the pan to a plate on the side. Repeat with the second slice of pannettone. Turn off the heat for the moment.
  4. Monte Cristo sandwich
  5. Once all of the sides of the pannettone are lightly toasted, spread mayonnaise or mustard on one side of each slice. Place whatever fillings you'd like inside, and sandwich the slices together. 
  6. Put the heat back on to medium-low, and melt more butter in the pan if necessary. Place the sandwich in the pan, and toast on either side until nice and toasty, with the cheese melty in the middle.Monte Cristo sandwich 
  7. Remove, and serve in warm wedges. Serve with jam if desired. 
Have you ever tried a Monte Cristo sandwich?

Italian in Your Mouth: Torta Caprese

Have you ever heard of Torta Caprese? 

Torta Caprese

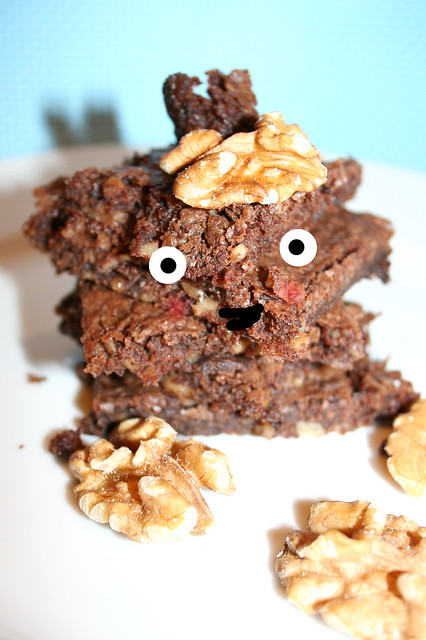
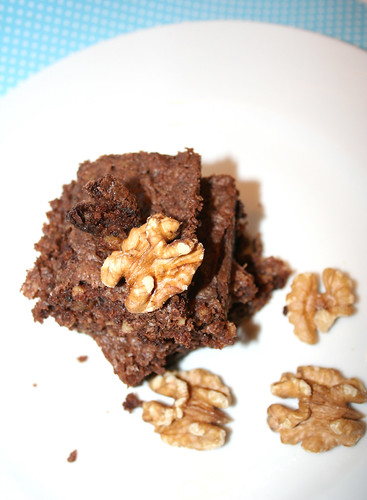
My sweetheart was enchanted by this recipe in Brooks Headley's book Brooks Headley's Fancy Desserts: The Recipes of Del Posto’s James Beard Award–Winning Pastry Chef. So...well, he made it. And we ate it. And I want to tell you that it is worth your time. 

According to the book, Torta Caprese is an Italian sweet, named for the island of Capri. This is a traditional version that gets its structure from "walnuts and the superpowers of egg whites". 

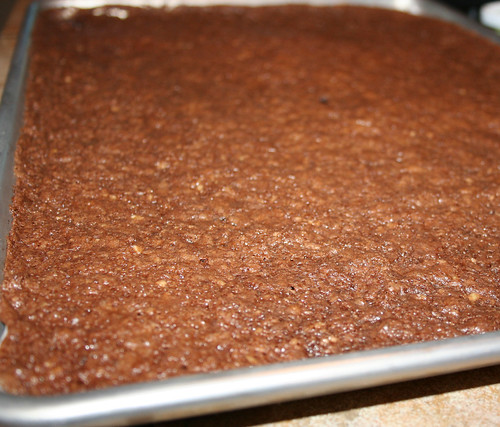
It's a very thin brownie, so we decided it was better to serve them in little short stacks, like the one pictured (five brownies at once? How American!). Since they're so thin, it's really like making a DIY layer cake. 

Torta Caprese

Every flavor shines in this recipe, so it's a good time to bring out quality ingredients: basically, your brownies will taste as good as the chocolate you use. 

It's also naturally gluten free, "making it perfect for passover, or for that friend who is not eating gluten, for whatever very real or totally imagined reason."

Torta Caprese

Torta Caprese

Only slightly adapted from Brooks Headley's Fancy Desserts: The Recipes of Del Posto’s James Beard Award–Winning Pastry Chef.

Yield: 1 baking sheet of brownies

  • Bittersweet chocolate, very best quality, chopped, 1 1/2 cups (200 grams)
  • Walnuts, chopped, 1 3/4 cups (200 grams)
  • Sugar, 3/4 cup plus 1/4 cup (150 grams plus 50 grams) 
  • Salt, 1 teaspoon * (4 grams) - note, original recipe calls for 2 teaspoons
  • Unsalted butter, 2/3 cup (or, 1 1/3 sticks) (155 grams), melted
  • Eggs, 4, separated

Procedure

  1. Preheat the oven to 325 degrees F. Line a baking sheet with parchment paper. 
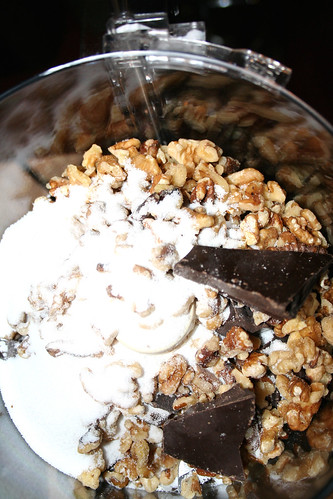
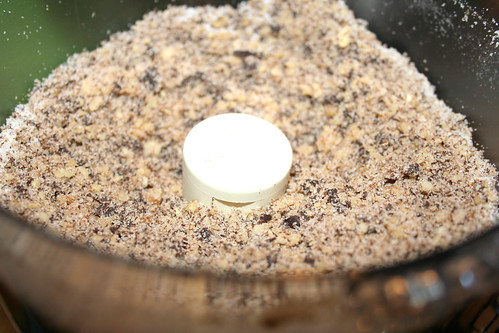
  2. In a food processor, pulse together the chocolate, walnuts, 3/4 cup of the sugar, and the salt, until you have chunks of chocolate and walnut that are not huge but not totally obliterated either. You don't want a paste. Avoid that.
  3. Torta caprese
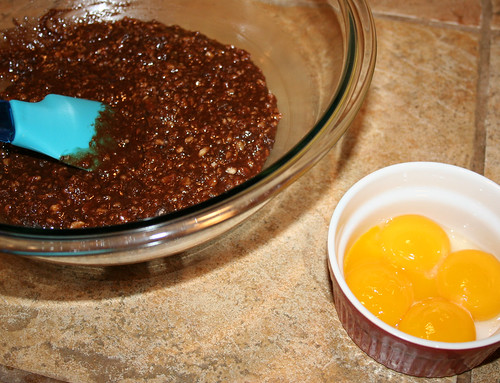
  4. Transfer the chocolate mixture to a large mixing bowl. Add the butter and mix well with a rubber spatula. Add the egg yolks, and stir to combine. Set the chocolate mixture to the side. 
  5. Torta caprese
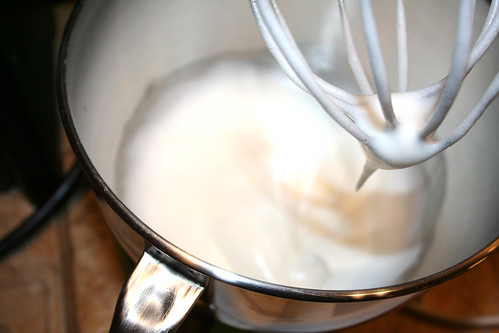
  6. In the bowl of a stand mixer, using the whisk attachment, beat the egg whites on medium speed, slowly adding the remaining 1/4 cup sugar and beating continuously until the whites have a meringue-like texture. Do not overbeat.
  7. Torta caprese
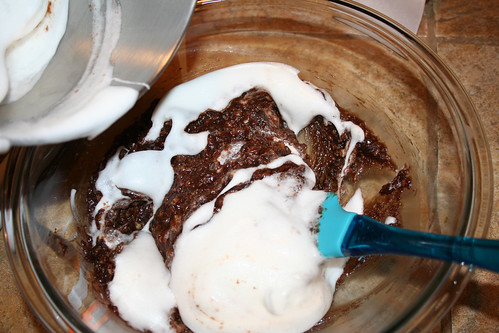
  8. Fold the egg whites gently into the chocolate mixture, and pour the batter on to the prepared baking sheet. 
  9. Torta Caprese
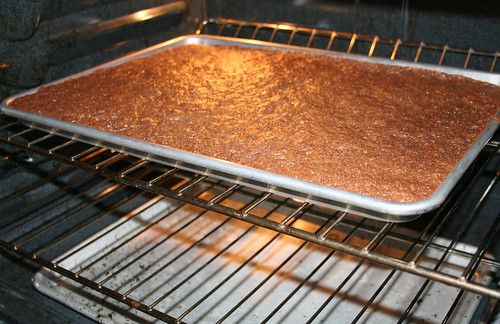
  10. Bake until golden, 20 to 25 minutes, or until a toothpick inserted in the center comes out clean. 
  11. Torta Caprese
  12. Let the cake cool in the pan, and cut into chunks. This also freezes beautifully, and will last up to 2 months. Just thaw and serve.
  13. Torta Caprese

How many slices would you stack for dessert?

Greek Yogurt Cake Frosting

Buttercream is amazing stuff. I mean, no part of the word is wrong: it's composed of equal parts "butter" and "cream". And the actual substance is great, too: butter, confectioners' sugar, a little cream, and sometimes even pink coloring. 

Yes, I love buttercream. But today I've got to tell you that it's not the only frosting.

Greek yogurt cake frosting deserves your love, too. I would consider this more like a cream cheese frosting in that it has a tang, but the greek yogurt version has a unique texture, which is almost like a soft fondant, that makes it a fascinating food experience. I say you give it a try.

Get the recipe for greek yogurt cake frosting.

Easy Olive Oil Shortbread Recipe

Chocolate drizzle

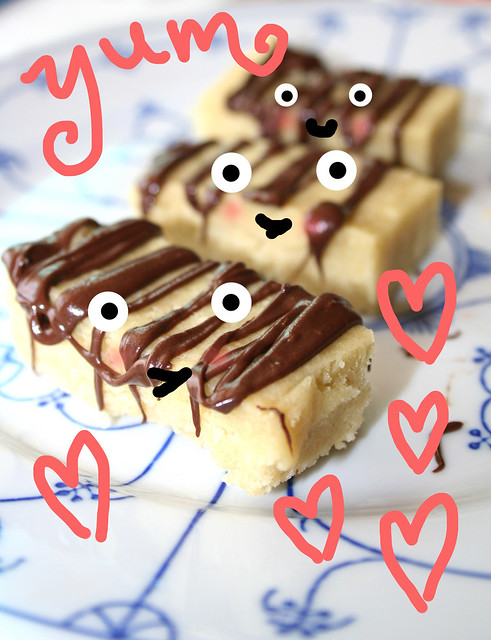
In spite of the cartoon treatment above, these cookies are actually quite sophisticated.

They're shortbread, yes, but with an important departure from tradition: they're made with olive oil. Sound weird? Get over it. Because these cookies are so tender, so flavorful, so delicious, that you'll be craving them long after the batch is gone.

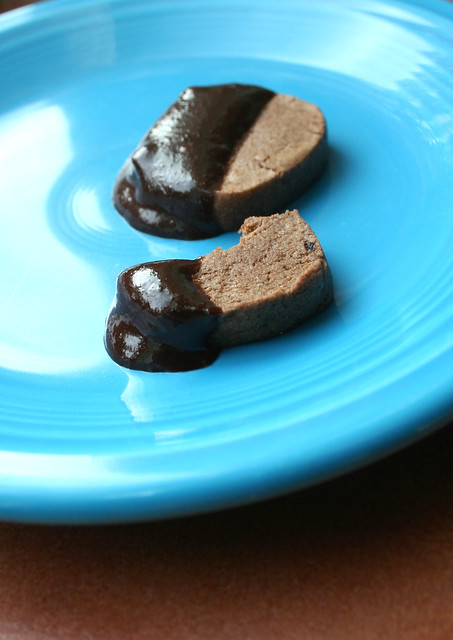
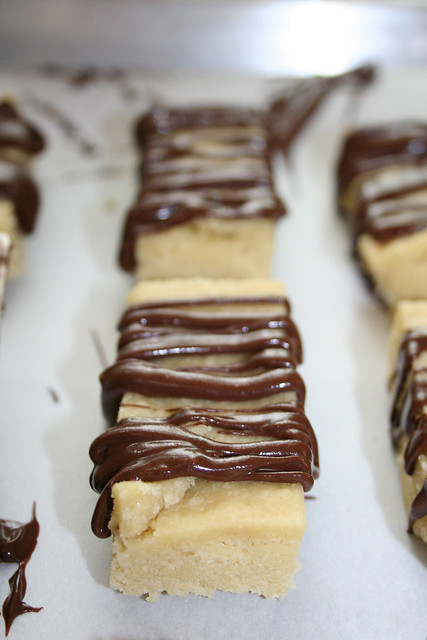
Chocolate drizzled olive oil cookies

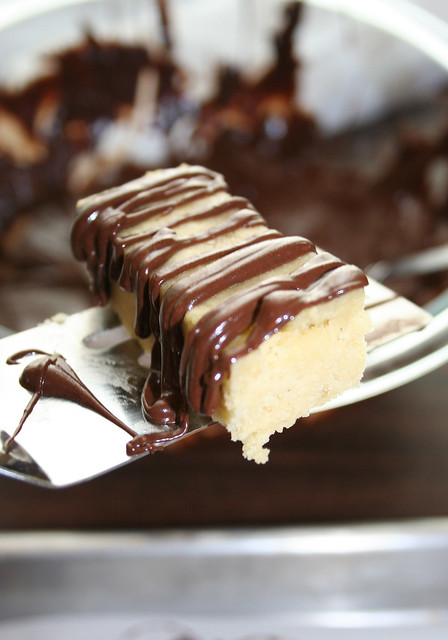
The olive oil gives them an intriguing taste that more than makes up for the fact that they are delicate--so delicate, in fact, that I like to eat them with ice cream and a spoon. 

A drizzle of chocolate, which is my preferred garnish, helps hold the cookies together, so that they can melt in your mouth--not your hand. 

Chocolate drizzled olive oil cookies

Here's how to make these crave-worthy and conversation-starting cookies.

Olive oil shortbread cookies

Makes about 12

  • 2 3/4 cups flour
  • 1/4 cup cornstarch
  • pinch salt 
  • 1/2 cup sugar
  • 3/4 cup olive oil

Optional: 2 ounces melted chocolate, for drizzling on top of the finished cookies

Procedure

  1. Preheat the oven to 325 degrees F. Generously grease and line with parchment an 8-inch square pan. 
  2. In a large bowl, sift together the flour and cornstarch with a pinch of salt. Set to the side.
  3. In a stand mixer or by hand, mix together the sugar and olive oil. It will be just a sandy liquid mixture.
  4. Add the flour mixture in 2-3 increments, mixing gently to combine. If the mixture is too soft, you can add up to 1/4 cup more flour.
  5. Turn the mixture out into your prepared 8-inch square pan, patting the mixture evenly into the pan.
  6. Bake for 25 minutes or until golden on the edges and matte on top.
  7. Slice the bars shortly after they are out of the oven, using a very sharp knife. But let them set completely before removing them from the pan.

These are much softer than regular shortbread so handle with care!

If you'd like, drizzle the cookies with melted chocolate (my fave!). 

Have you ever tried shortbread made with olive oil?

How to Use the Last of the Peanut Butter in the Jar

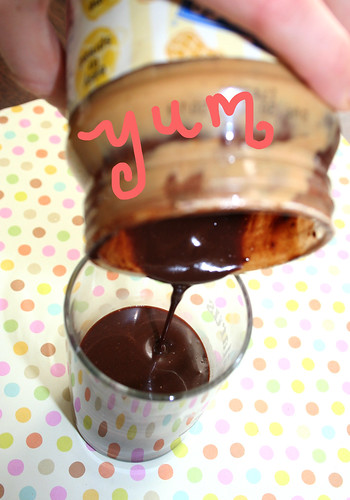
Peanut butter jar solution

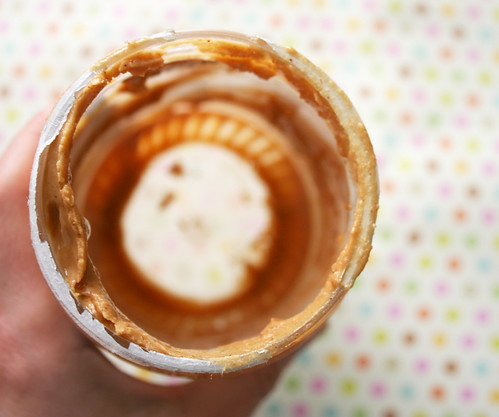
This is an empty peanut butter jar. But it isn't a bigtime bummer: it's a delicious opportunity.

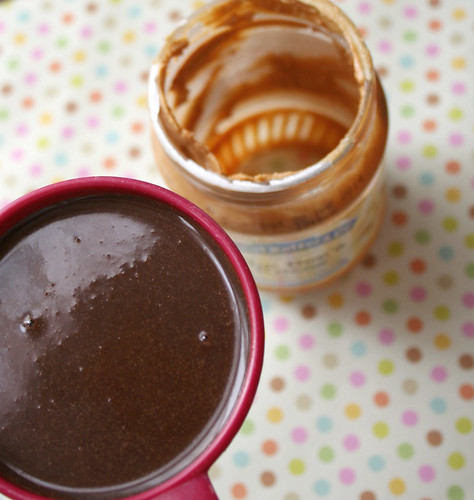
No more do you have to lament the loss of the last hard-to-remove bits of peanut butter from the jar. Instead, make it a delicious snack: peanut butter hot chocolate. 

Peanut butter jar solution

All you have to do is this.

Gather up:

  • 1 almost-empty jar of peanut butter 
  • Up to 8 ounces of hot chocolate, not piping hot but definitely warm 

And do this:

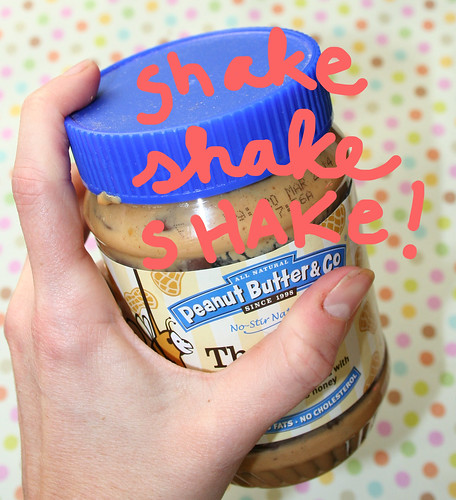
  1. Pour the hot chocolate into the jar. Shake vigorously. You'll start to see the chocolate melt and absorb the peanut butter as you shake. Peanut butter jar solutionYou may not get every last shred, but you'll get a good amount mixed in.
  2. Once you're satisfied, stop shaking. You can drink it straight from the jar if you want to look all cool, or transfer it to another cup to enjoy. 
  3. Peanut butter jar solution 
    Enjoy! Peanut butter hot chocolate time!
    Peanut butter jar solution

Notes:

Don't do this with low fat peanut butter. In fact, don't buy low fat peanut butter, EVER. 

I suggest "up to 8 ounces" as the liquid amount because this leaves you room to shake the liquid.

Don't like chocolate? I don't know what's wrong with you, but I guess we can share space on the same planet. You could also use warm milk or any soy/rice/nut alternative. 

You're welcome. 

Make Your Own Cream Cheese

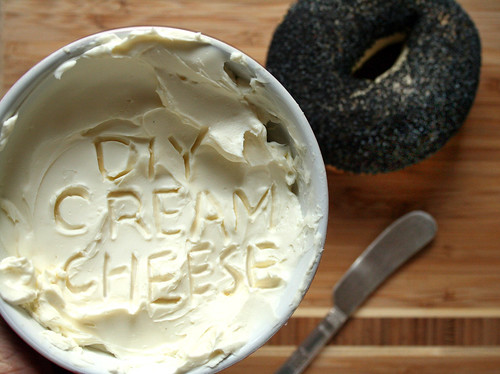
DIY Cream cheese

I'm totally not lying. DIY cream cheese is a thing, and it is delicious. It takes some time and patience, but it's really quite easy to make--the hardest part is the waiting, as it has various resting periods.

This cream cheese is great eaten on bagels, or used to make a very impressive cream cheese frosting. Seriously--how cool will you seem when you tell people you made your own cream cheese for the awesome red velvet cake you're serving?

Find the recipe here. 

Olive Oil Chocolate Chip Cookie Dough Truffles

Olive oil chocolate chip cookie dough truffles. That's a mouthful to say, but an even more delicious mouthful to eat. 

Olive oil can be employed in this absolutely gorgeous egg-free (it won't kill you!) cookie dough for an intriguing flavor which becomes all the more seductive when coated in rich dark chocolate. 

Go ahead--you deserve it. So does your Valentine. 

Recipe here. 

2/7: Happy National Ice Cream For Breakfast Day

Photo via Post Foods

Did you know that February 7th is National Ice Cream for Breakfast Day? I know, I know: best holiday ever. Finally, a reason for ice cream stores to open early! Because one of my true laments in life is that ice cream stores open too late. Surely I'm not the only one who craves ice cream at 9:00 in the morning, right? 

But I digress. To celebrate this wondrous day, I'd like to present an easy way to "breakfast" up your ice cream--by adding Grape Nuts.

Believe it or not, Grape Nuts ice cream not only exists, but can be quite common in parts of New England. Weird as it might sound, it works: the ice cream basically does to grape nuts what takes milk at least 40 minutes to do: it softens it, so that you can eat and enjoy the nutty, somewhat wholesome flavor without breaking your teeth. It works very nicely as an ice cream flavor.

If you're not in New England, however, you can do it the easy DIY way, by mixing Grape-Nuts into existing vanilla ice cream. Here's how.

Easy d.i.y. Grape-Nuts Ice Cream

Adapted from Post Foods

  • 1/2 cup Grape-Nuts Cereal
  • 1 pint (2 cups) vanilla ice cream, softened 
  • Additional mix-ins of your choice: caramel, chocolate chips, etc.

Procedure

  1. Mix the cereal and softened ice cream in freezer proof bowl until the cereal is equally dispersed; cover.
  2. Freeze until firm.
  3. Store leftovers in freezer.

What flavor will you have for breakfast on National Ice Cream for Breakfast day?