What a long, but awesome road, it's been! My third and final leg of book tour supporting The Secret Lives of Baked Goods: Sweet Stories & Recipes for America's Favorite Desserts has come to a close, and if you have a few minutes (of course you do, you're on the internet! It's leisuretime here!) I'd love to tell you about my adventures.
(P.S. If you want to read about the first two parts of my book tour, here's part one, and here's part two!)
First was an event in Albuquerque, New Mexico. Don't you just love saying the word "Albuquerque"? I had an event at a bookstore called Bookworks, where my NAME WAS FEATURED ON A BIG MARQUEE. This was a great life moment, but even better was the fact that almost the entire audience was composed of people who work in the film industry in New Mexico. It made for a wonderful and varied crowd!
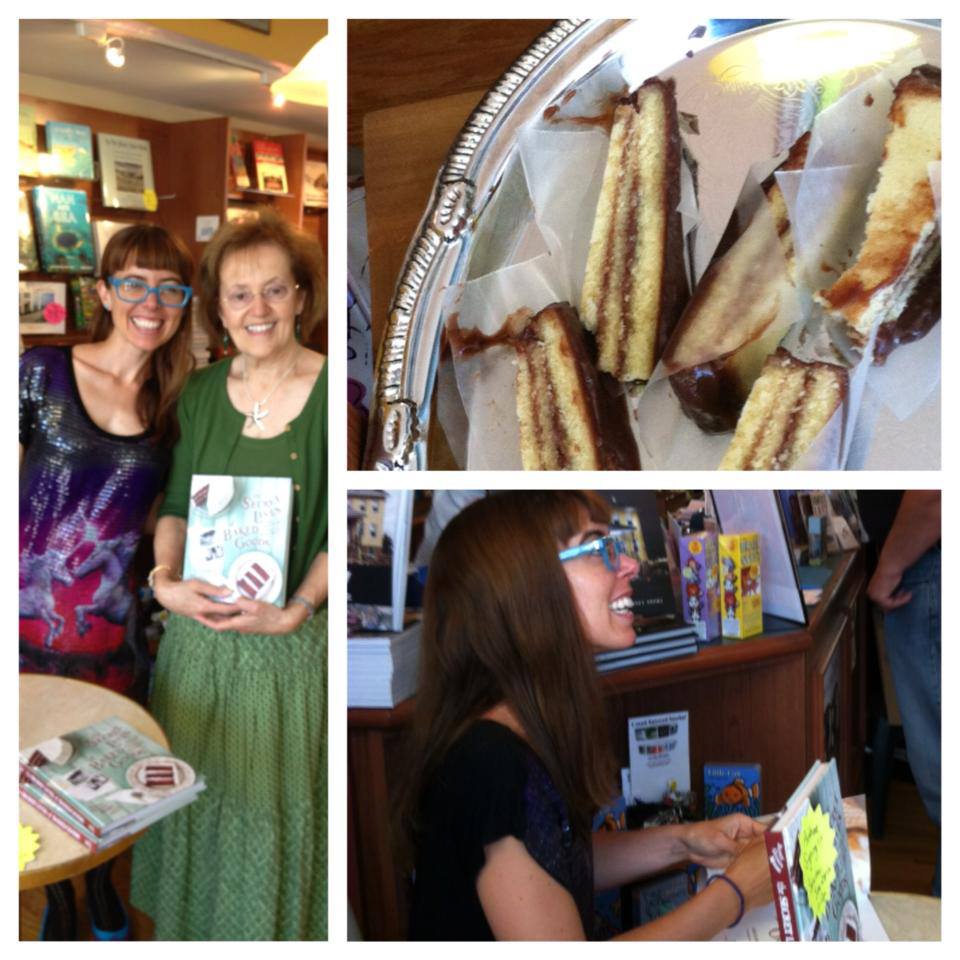 Next up was a trip to the Jersey Shore. Now, a trip to this part of the world is always dear to me because it's where I grew up, but it was especially wonderful this time because I had a book event close to my hometown. It was at a wonderful little bookstore called Booktowne in Manasquan, New Jersey, and I was delighted to see a nice-sized crowd of people who came, including some former high school classmates who happened to be in town and read about the event!
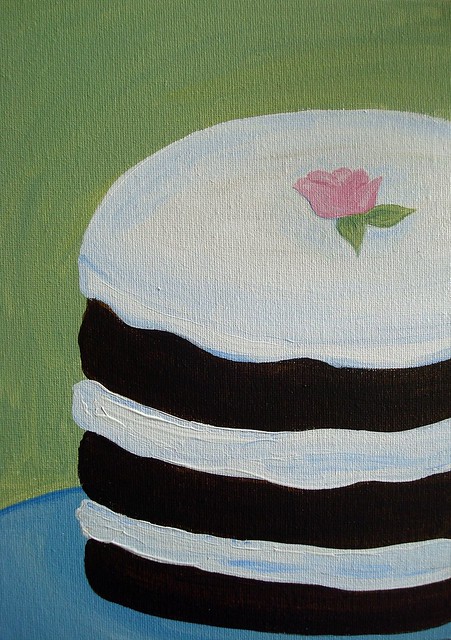
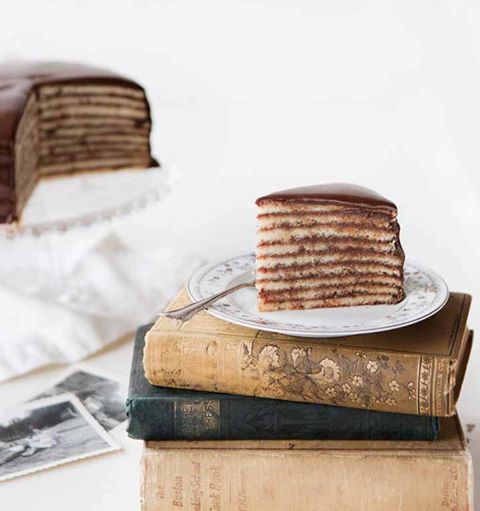
I also served some Smith Island Cake, which is never a bad thing. Did I mention they sold out of books? That made me feel like a Jersey Shore Superstar.
Next up, on the same day, was a book event at a bookstore called Towne Book Center in Collegeville, PA (yes, I had an event at Booktowne then at Towne Book Center, one after the other). This was a super fun event because it was a dessert potluck, where everyone brought something sweet and we all got to taste it--then, everyone told us the story behind theirs. I tasted some really good stuff, AND got a really exciting Congo Bar recipe from one of the entrants that I can't wait to try out.
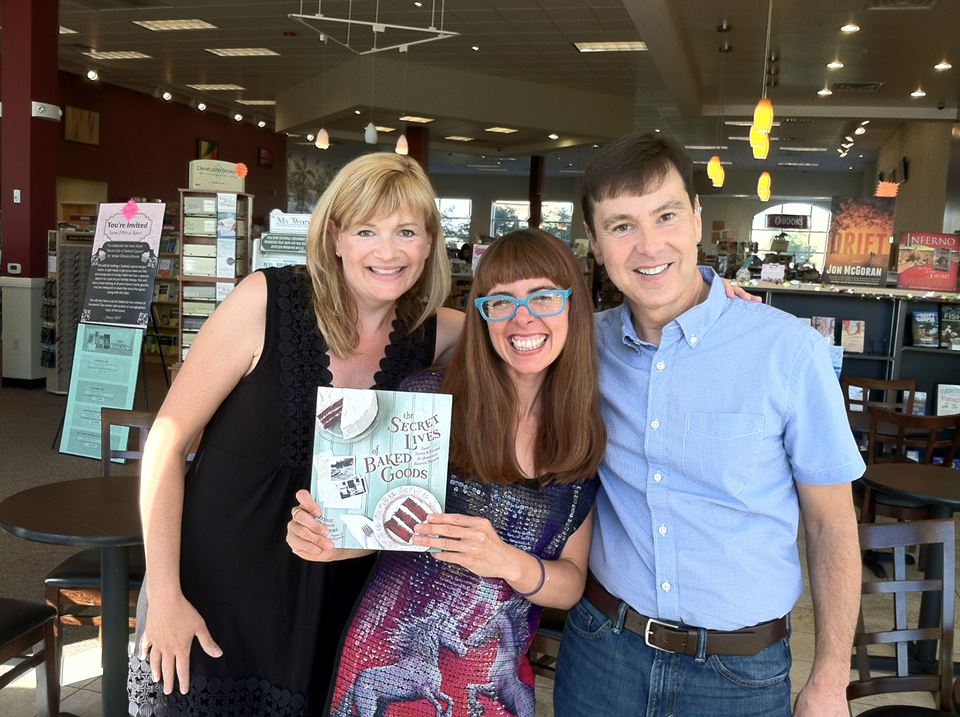 But one of the biggest highlights? Brett and Christina, both contestants from last year's Pillsbury Bake-Off, were in attendance! So we had a mini Bake-Off reunion. How cool is that? Christina won last year (winning recipe here!), so she's got a million reasons not to be at the contest this year. But I was so excited to hear that Brett (here's his entry from last year) will be a finalist again this year, with another delicious-sounding dessert called Heavenly Hazelnut Torte with Mascarpone Cream!
That was a great event!
But that wasn't all to the Pennsylvania leg of tour. I also taught a baking class in Philadelphia, at a fine establishment called COOK. I wore a hot pink dress and had a great time teaching people how to make Smith Island Cake, Lemon Meringue Pie, and Alice B Toklas Truffles (Toke-less ones, you know).
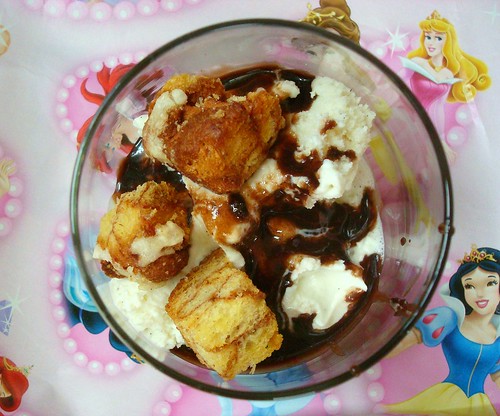
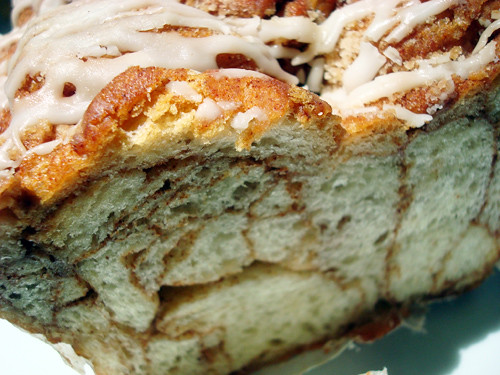
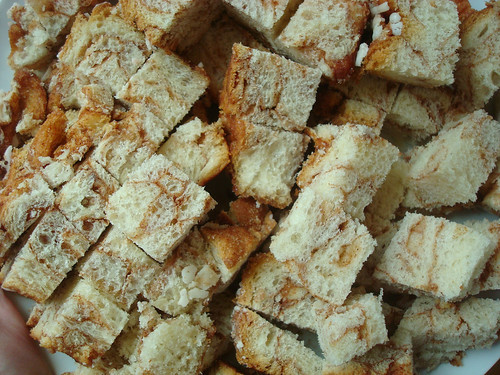
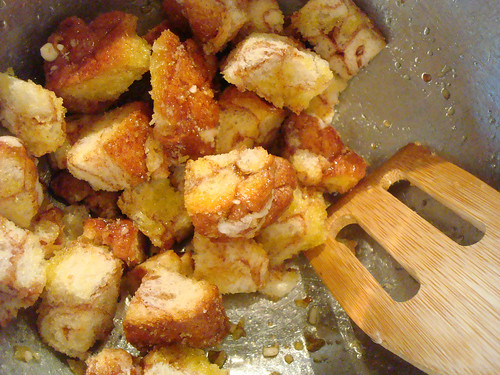
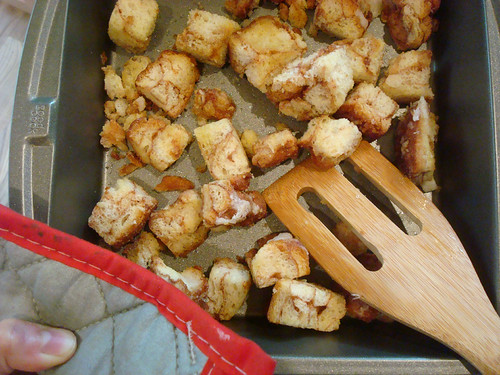
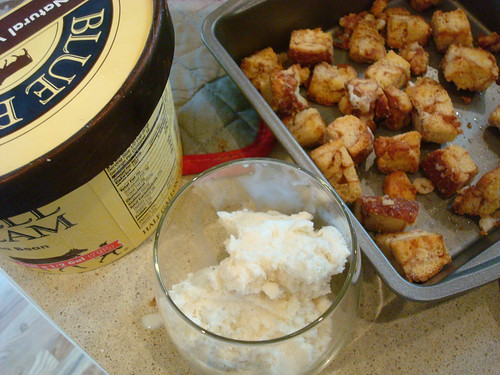
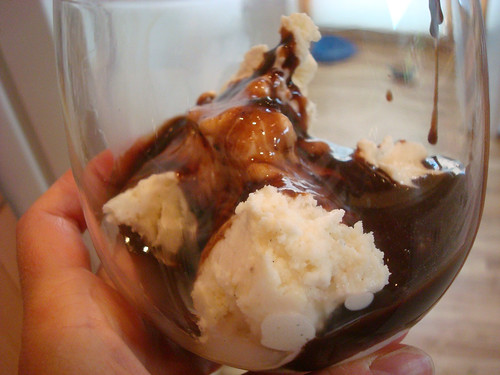
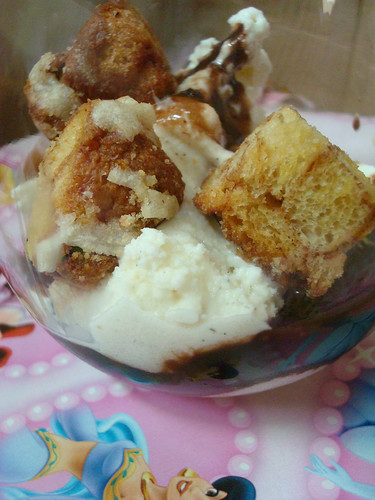
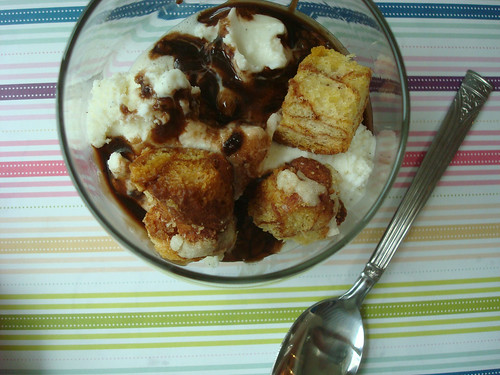
 Then, I had about a week to rest and hang out at my house. I spent that time wisely, making milk fudge and learning how to make overnight French toast. I also made homemade croutons for the first time, which is ridiculously rewarding. Yumsies.
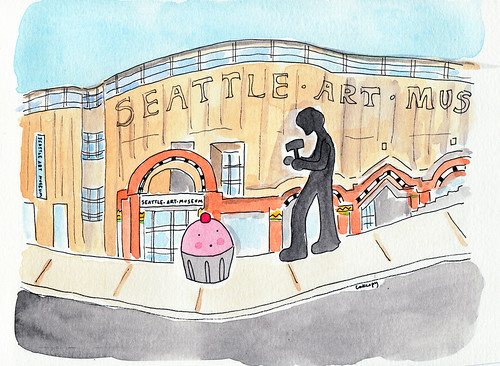
Then, I hopped a flight back to Seattle for a few more book events.
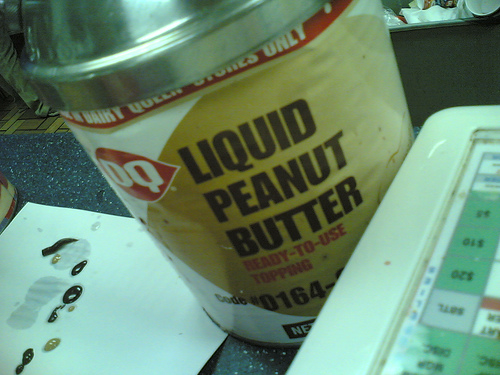
 Hellooooo, Seattle! I was picked up by my sweet friend Nicole (bloggy persona: So Suzette) who is also the person I went to eat with at Wandering Goose Cafe the next morning. I got something called "Big Trouble" which consisted of a warm biscuit with honey, banana, and lots of peanut butter. It was. So. Good. Just looking at it should tell you that this is a biscuit that means business.
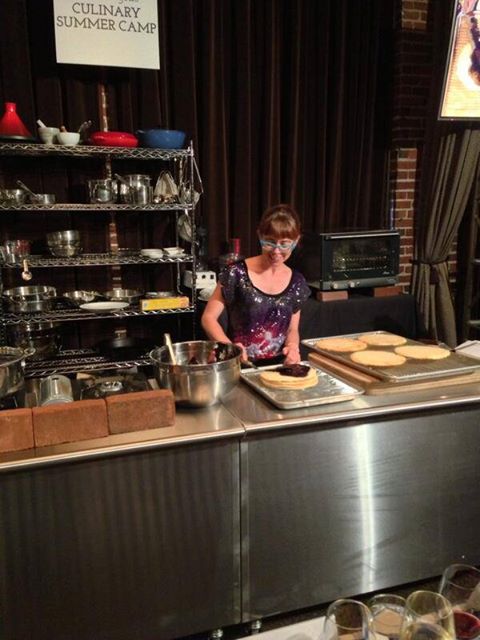 The same day, I did a baking demo at the Tom Douglas Summer Camp. This was probably the best demo I had ever done. Now, the fact that they gave me a glass of wine before my demo made me (in my opinion) even funnier than usual, and the crew was GREAT. We talked a lot about Nanaimo bars, which was one of the demo items. Smith Island Cake and Toklas Truffles, too.
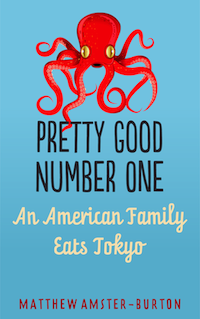 The next day, I had off, so I hung around Seattle and went to Crumble & Flake with my friends Laurie, Iris, and Matthew (they also happen to be a family). Actually, Matthew was on his way to do some book touring of his own, for his new e-book, Pretty Good Number One: An American Family Eats Tokyo
 . It is about his family's eating adventures in Tokyo. You probably need it. Don't you love the cover? Well, don't judge it by the cover! Cos the writing is even better.
Our pastries were also awesome. I got the kouign amann.

I also picked up some macarons to bring to the great staff at my publisher, Sasquatch Books. They liked me pretty well that day, I'd say.
I was then summoned back by the Tom Douglas people--apparently, this night was their closing party, and Tom himself needed a karaoke partner. I was happy to make a repeat performance! Here we are together, to prove it really happened.
 The song we sung, by the way? "People who need people". Yep.
There was still more awesome to come in Seattle, though. The next day I had a sweet signing at Mrs. Cook's in the University Village, and got to meet a bunch of cool people there. And I brought brownies from the book...
Whew! After that, I was pretty tired, but there was still more to do! I had a booth at the Urban Craft Uprising on both Saturday and Sunday, where I sold books, cards, and products. I left with fistfuls of money and good memories, and got to see my buddies Kristen of Schmancy and Rosalie of Ugly Baby and Kari Chapin, genius writer of many books.
And guess who else came to say hi? PEABODY! Of Culinary Concoctions by Peabody! My baking hero! She always makes me smile.

It was a great fair!
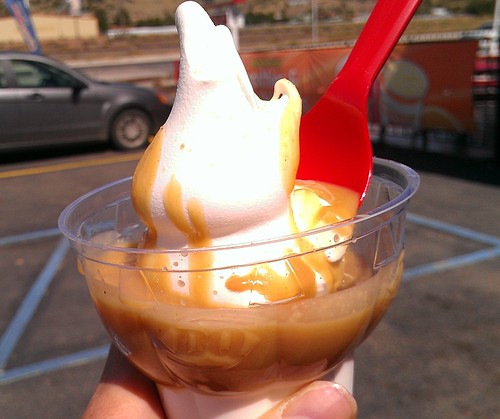
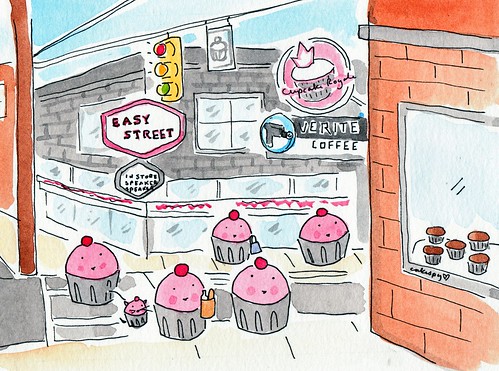
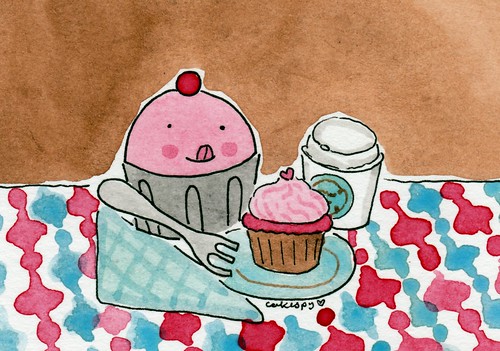
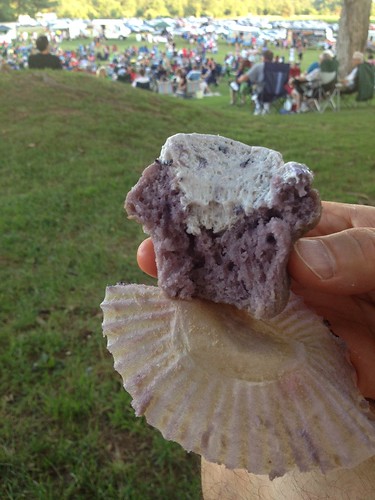
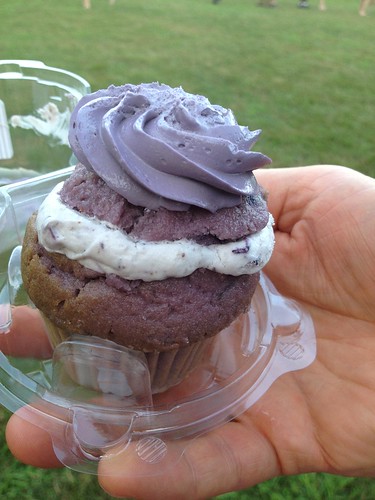
I got a tasty dessert with my friends Nicole and Ramon after the fair one of the nights...delicious Cupcake Royale ice cream!
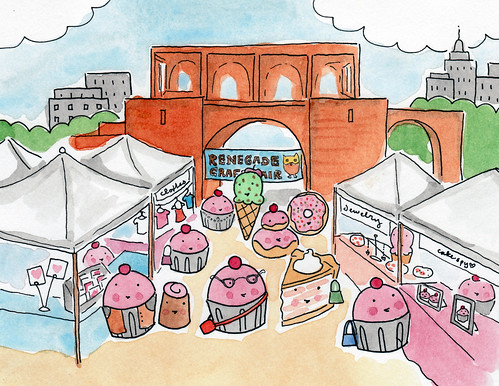
Monday morning after the fair, I hopped a plane and flew out of Seattle. Then, I headed for Los Angeles! There, I was a vendor at the Renegade Craft Fair, where I also sold my books.
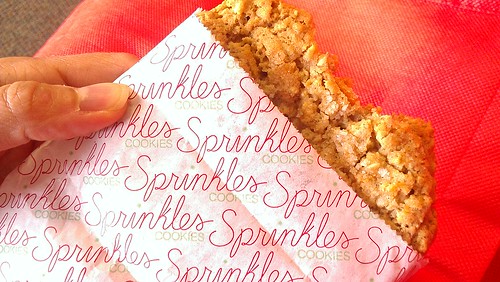
There, I saw many LA buddies and (hooray!) got to visit the Sprinkles cupcake ATM. The line was really long though, so I got ice cream instead. Their ice cream is good--the cookies they use for ice cream sandwiches are awesome.
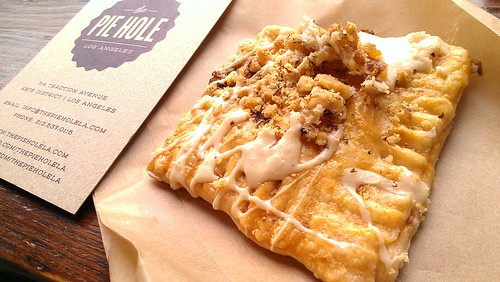
I also went, on reader Zita's suggestion, to The Pie Hole, where I got their version of a Pop-tart. This thing was good, even though it cost as much as a box of pop-tarts!
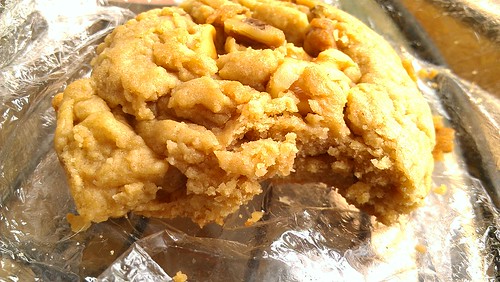
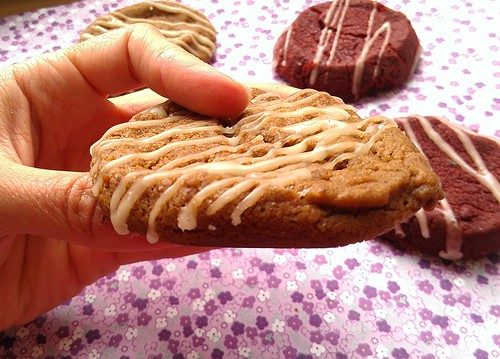
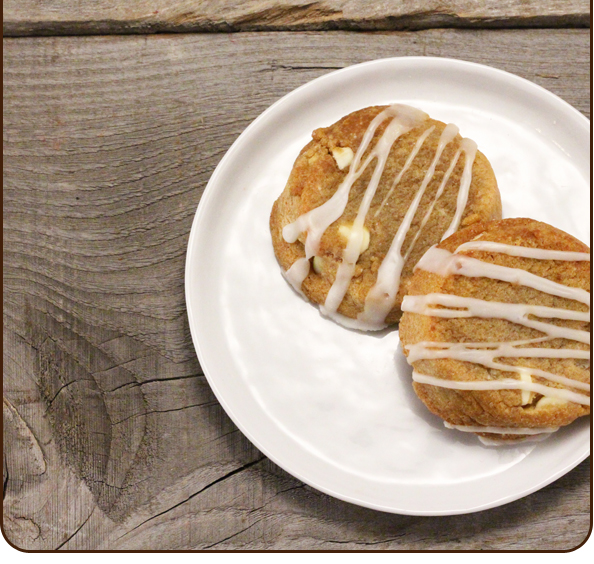
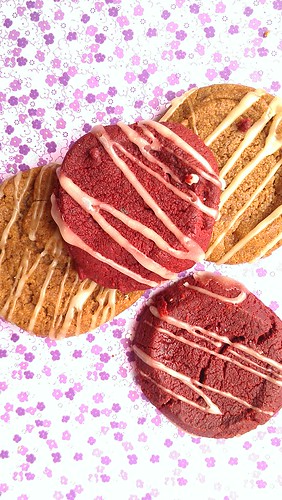
I also had the good fortune of sharing a craft fair booth with Vici Victual, a cookie baking business that is seriously awesome. The cookies may look like normal cookies, but the taste is extraordinary. Soft, but firmer on the edges (not quite crisp. I like soft so this was good for me). Beautifully balanced flavor. Seek them out in LA--they're at craft fairs and the like.
Thank you to everyone who bought my book, came to my book tour events, and generally made my life sweeter.
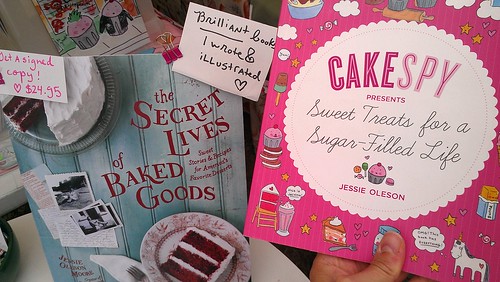
And in case you missed out...buy the book here! The Secret Lives of Baked Goods: Sweet Stories & Recipes for America's Favorite Desserts! And don't forget to buy my first book too, Cakespy Presents Sweet Treats for a Sugar-Filled Life !
!

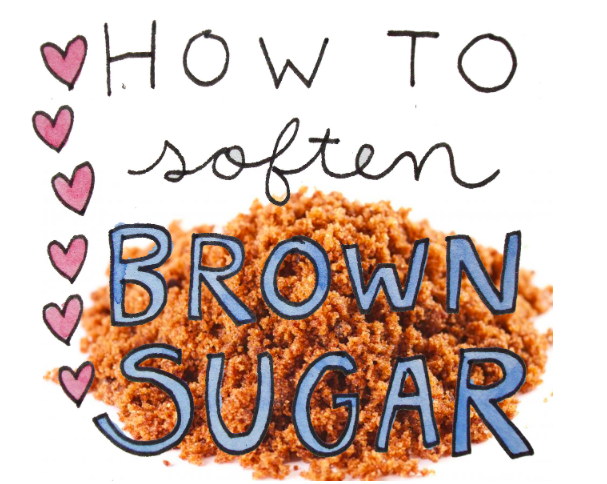 Rather helpful: how to soften brown sugar that has become hard.