 Question: When you move to a new city, how do you get people to love you quick?
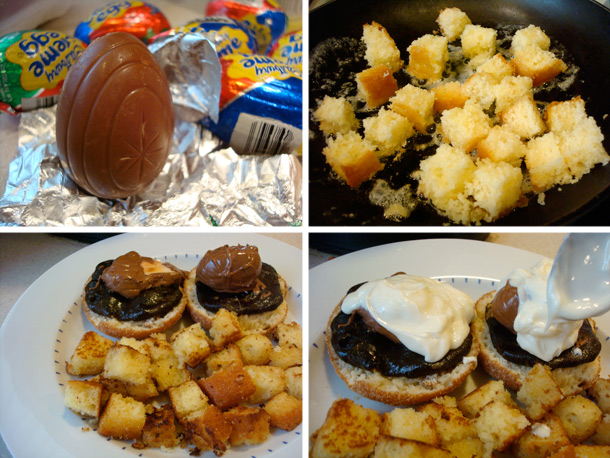
- 2 Cadbury creme eggs
- 1 plain cake doughnut
- 1 brownie, the fudgier the better
- 2 to 4 tablespoons' worth of buttercream frosting, to taste
- 1 large slice pound cake, cut into small cubes
- 1 tablespoons butter
- Red sugar sprinkles, to garnish
Procedure
Put your buttercream frosting in a small, microwave-safe bowl, and microwave on high for about 10 seconds, with additional increments of 5 seconds each if needed, until the frosting is soft enough that it drips lightly when spooned (you don't want it to be pourable though). Spoon as much as you'd like onto each prepared "egg" stack.Sprinkle each finished stack with red sugar sprinkles; serve immediately.
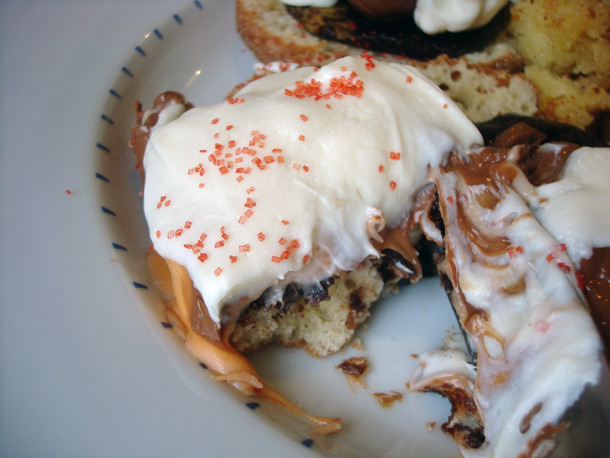
Om nom nom.
- - - - - - - - - -
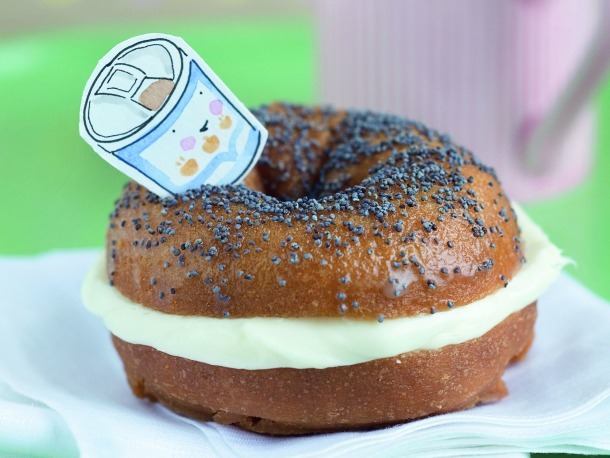 Next, you've got to have at least a couple of bagels with cream cheese--NOT! These "bagels" are actually doughnuts, split and filled with cream cheese frosting (using Philly Cream cheese, naturally!) and topped with poppyseeds. Here's how you make 'em:
- Plain cake doughnuts (as many as you'd like); I got mine at Beiler's Bakery in the Reading Terminal Market
- Vanilla or cream cheese frosting (about the same amount you'd use to top a cupcake for each doughnut; if you need a recipe, try this one or this one)
- Poppyseeds (or sesame seeds would work too)
- Butter (about a teaspoon-ful per doughnut)
- Slice doughnut in half (for some reason it seems to work easiest if you apply the poppyseeds after slicing)
- In a small microwave-safe dish, melt about 1 teaspoon-ful of butter per doughnut you'll be making by putting it in the microwave for about 10 seconds.
- Lightly brush the top side with about a teaspoon of melted butter (oh, get over it--they're already fried, anyway)
- Immediately sprinkle poppyseeds on top of the buttered side (this will ensure that they stick) and put this half to the side for a moment.
- Apply a generous dollop of room-temperature frosting to the bottom (sans seed) half of the doughnut. It is important that the frosting be room temperature because if it is chilled, when you try to spread it you may break the doughnut apart. Gently spread.
- Put the poppyseed-laden piece on top. Enjoy.
- - - - - - - - - -
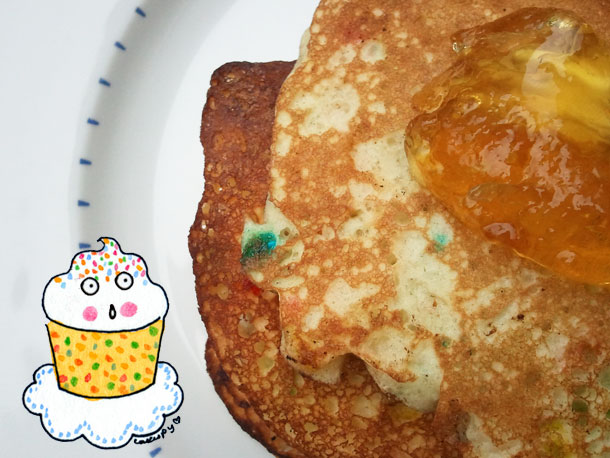 For the carb-o-holic, Funfetti Cake Mix pancakes are definitely also in order. I mean, half of "pancake" is "Cake", so why not make it extra fun by making them with cake mix?
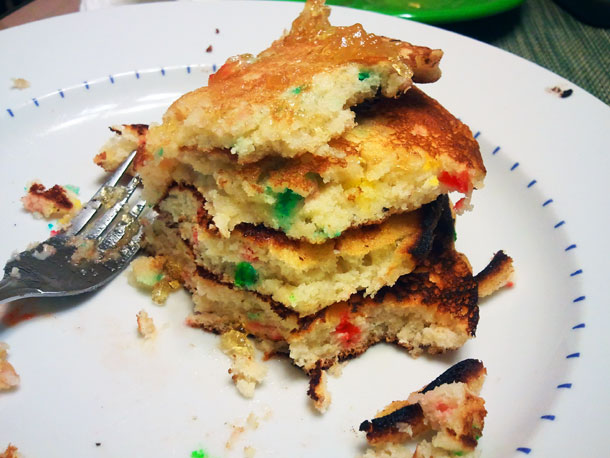
- 1/2 box (about 2 1/2 cups) Funfetti or Rainbow Chip Cake Mix
- 1 cup milk
- 1 egg
- 1/2 cup flour, sifted
- butter, for greasing your frying pan
- Combine the dry cake mix with the remaining ingredients in a small mixing bowl.
- Blend on medium-low speed until the batter is fully incorporated, about 2 minutes.
- Prepare your frying pan by lightly greasing it with butter; let it heat up on a medium-high heat setting on your stovetop.
- Drop the batter, 1/4 cup at a time, on to the prepared griddle. When the edges turn golden and are beginning to lightly bubble, flip the pancake and let the second side bake (this may take less time than the first side).
- Serve immediately; garnish with jam, syrup, or even some cake frosting if you're feeling very decadent.
- - - - - - - - - -
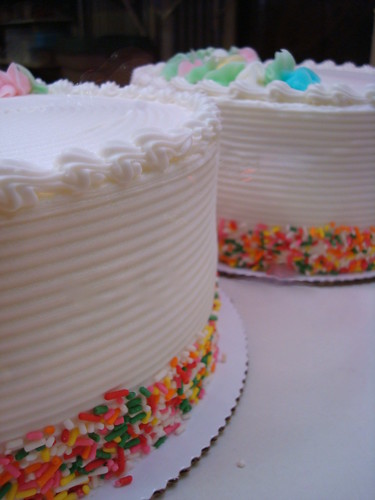
Once you have your cake, here's how you make the French Toast with it: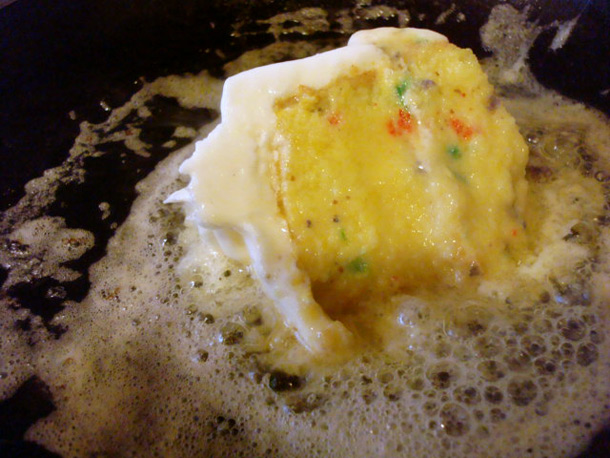
Cake French Toast
- 6 to 8 slices cake, chilled in the refrigerator overnight
- 4 eggs
- 1/2 cup milk or light cream
- 3 tablespoons sugar
- Dash of cinnamon or other spices, to taste
- 2 to 4 tablespoons butter, for frying
- Confectioners' sugar glaze or sprinkles, to garnish
In a large bowl, whisk the eggs, milk or cream, sugar, and any spices you'd like to add, until the mixture is fully combined and lightly frothy on the edges.
Remove your cake from the refrigerator. It will work if you haven't chilled your cake too, but chilling it overnight keeps the frosting from melting all over when you pan fry the cake. Slice the cake into thick slices.
Dip each cake slice in your egg mixture, coating it fully on both sides (go ahead and submerge each slice). Place the dipped slice directly in the frying pan; depending on the size of your pan, add 2 or 3 slices at one time.
Let each slice fry for a minute or so, until it is lightly coming up on the sides (you can lift a side gently with a spatula to see if it is browning). Turn over and repeat on the opposite side, being sure to turn gently so that you don't let the frosting smear across the pan.
Remove from the pan and transfer to a serving platter or directly to plates. Repeat with the remaining slices until you've finished them all. If desired, top with a confectioners' sugar glaze and sprinkles. Serve immediately.
- - - - - - - - - -
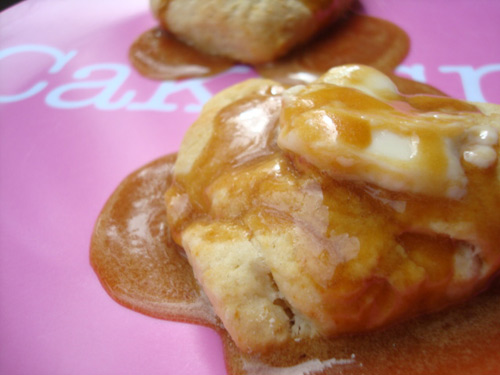 Of course, around this time you might be experiencing a sharp fear that you haven't supplied your guests with enough carbohydrates. The solution? Biscuits with sugar butter, naturally!
For the biscuits
- 1 3/4 cups flour
- 2 1/2 teaspoons baking powder
- 1 teaspoon fine sea salt
- 6 tablespoons salted butter, at room temperature, plus three tablespoons melted butter (for glazing the biscuits)
- 1/2 to 1 cup whole milk
- pats of butter, for serving (in case the sugar butter isn't enough)
For the sugar butter
- 1 cup (2 sticks) unsalted butter
- 1 cup brown sugar, packed
- 1/2 cup heavy cream (more if necessary, to your desired consistency)
Procedure
- Preheat oven to 450. Grease a baking sheet or line with parchment paper.
- Put the flour, baking powder, and salt in a bowl. Cut in the room temperature butter with two forks (pie crust style!)--or go ahead and do this with a food processor if you've got one, mixing until the mixture is about the consistency of cornmeal.
- Add 1/2 cup milk and mix (or pulse) until combined. Add more milk if needed until the dough has reached a consistency where you can form it into a large, soft ball (it will be sticky; handle with floured hands on a floured surface).
- Lightly knead the dough on a floured surface for 30 seconds--about 10 folds. The dough should be fairly moist and light--overworking will make the biscuits tougher (though still pretty tasty!).
- Form a ball with the dough, and then roll it out into a half-inch sheet on your floured surface using a well floured rolling pin. Using a biscuit cutter, larger cookie cutter, or a mid-sized drinking glass, cut into rounds or shapes. I used a heart-shaped cookie cutter, because I, you know, love biscuits.
- Put the biscuits on your prepared sheet. Brush the tops with the melted butter and bake for 10-15 minutes or until lightly browned. Remove from the oven, but keep the biscuits on the baking sheet until the sugar butter is ready--this will keep them warm. Nom.
- Prepare the sugar butter. In a small saucepan over medium heat, melt the butter, then stir in the brown sugar and cook until the mixture bubbles. Add the cream, and turn down the heat to keep the cream just below a simmer. Cook for about 20 minutes on low heat, ur until the sugar is dissolved, the mixture has started to reduce and thicken, and the flavors are working for you (you'll have to taste it for this part. Be brave.)
- Add a bit more cream if the sugar butter is too thick for your liking and stir to combine.
- Get ready to serve. Put a pat of butter on top of your biscuits, and ladle a big ol' spoonful of the sugar butter on top. Enjoy.
- - - - - - - - - -
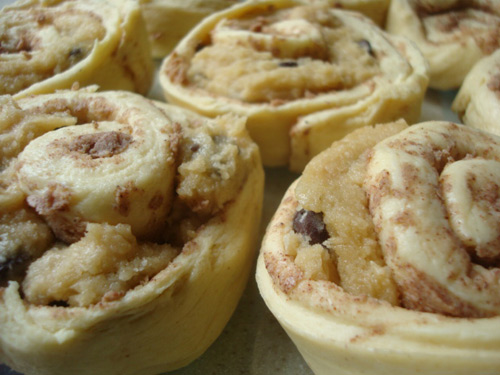
I know that for some people, the thought of brunch without cinnamon rolls is simply not fathomable. For those types, I tricked out some treats with chocolate chip cookie dough, making for delicious results:
Glazed Cinnamon Rolls Stuffed with Chocolate Chip Cookie Dough
Ingredients
- 1 package Pillsbury cinnamon rolls with glaze (I used orange sweet rolls)
- 1 teaspoon chocolate chip cookie dough per cinnamon roll (if uneasy about if it will cook thoroughly, use an egg-free version)
Procedure
- Preheat the oven to 400.
- Unwrap the roll of cinnamon rolls until you get that jarring "pop" that means the feast has been unleashed.
- Separate the rolls, and unroll each one gently.
- Roll each teaspoon of cookie dough into a thin log (use floured hands), slightly thinner than the thickness of the unrolled cinnamon roll.
- Place the log of dough on top of the unrolled cinnamon roll, and gently re-roll. Repeat with the rest of the rolls.Place the rolls in a lightly greased pie plate (it keeps it all contained) and bake according to the package directions, 15 minutes or so.
- Once the rolls are out of the oven, gently heat the glaze in the microwave for about 10 seconds, or until pourable. Liberally glaze your cinnamon rolls with it.
- Enjoy.
- - - - - - - - - -

Finally, you don't want to let your guests roll out the door on some sort of a sugar-bender, so I suggest serving them something savory at the end of the meal. Howsabout some cookies? But these cookies aren't sweet: they're savory! So here's a non-sweet treat that is fun to serve and delicious to eat - an idea I got from Pillsbury Bake-Off contestant Teresa Robinson! You can find the recipe here.
Thanks to Foodbuzz for choosing me for the 24x24 project this month, and thanks to Philadelphia for welcoming me with open arms!

