 CakeSpy Note: This is a guest post from Nellie Cakes, a blog written by Nell, a mom who taught herself how to bake so her daughter could have way cooler cupcakes on her birthday than anyone else in school.
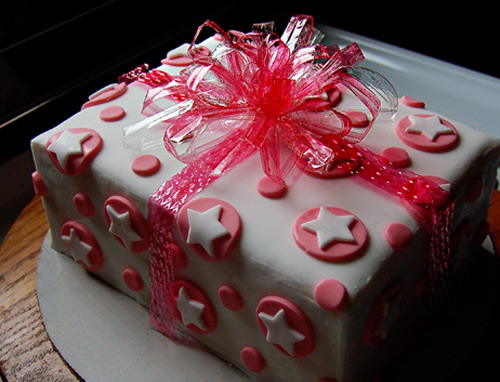
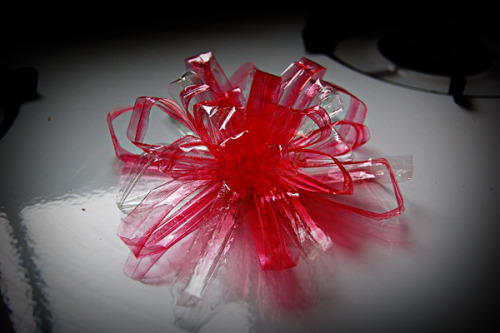
First thing: look at the cake on the top left of the above picture. Now, disregard the cake for a minute, and check out that bow on top! How pretty is that? And guess what! It’s completely edible. Here’s a closer look at it:
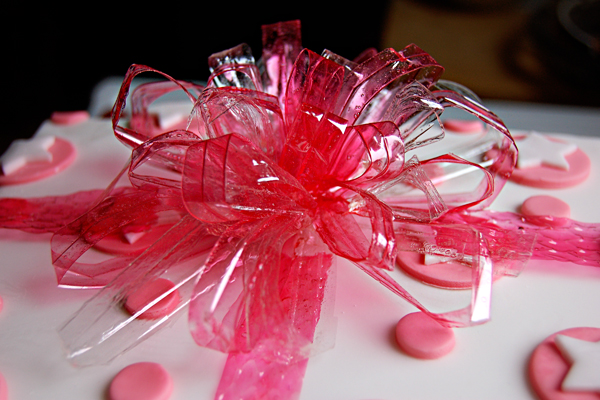
It doesn’t actually taste like much of anything, but it won’t detract from the taste of the cake either, if you decide to slice right on through it. (Which would probably be pretty tough to do.)
Bows aren’t the only thing you can make with this method either! (Flowers and butterflies would look gorgeous too, no?)
There’s another cool thing about it too! You can use the scraps from your project to make your own home-made edible glitter for all your other pretty desserts! To do that, just take the clippings that you’d normally throw away after you finished the project and cut them into tiny pieces. When I held my clippings next to the glitter I bought, I couldn’t tell the difference at all!
You’ll have to plan a little ahead of time if you want it to be ready for that cake you made because it takes about twelve hours for it to completely dry, plus the assembly time.
Ok, here’s what you need:
- Unflavored gelatin (like Knox)
- Water
- Food coloring
- A clean paint brush
- A non-stick surface, like a pattern board for fondant. (I used Duff Goldman’s Texture Tiles, which were at Michaels for $5)
- Scissors
Take one packet of the gelatin (about one tablespoon) and put it in a small bowl with 2 ½ tablespoons of water. Give it enough time to soak up the water completely, about five minutes.
After that’s done, put it in the microwave for about five seconds. Gelatin melts at really low temperatures, so that’s all you’ll need to liquefy it. When you pull it out, it should look like this:
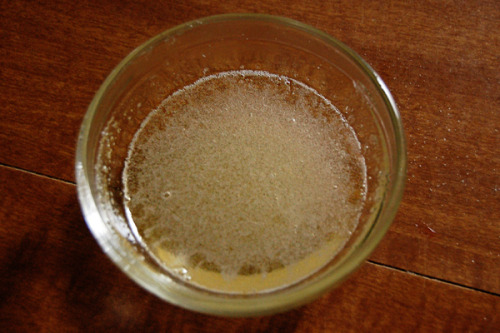 Let it cool for 5 to 10 minutes. When it cools to the right point, a layer of… well, scum, will form on the top. Take a stick of some kind and lift that layer off. If it won’t stay on the stick, let it cool for a few more minutes and try again. It should come off mostly in one piece. Discard that part. Once that’s done, it should look like this:
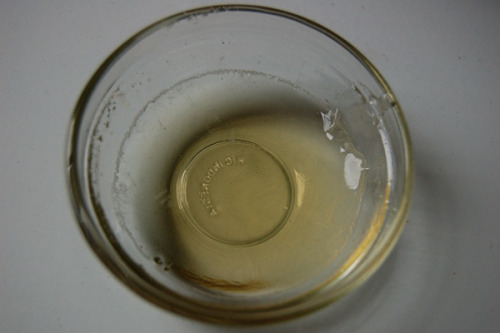
Nice and clear.
By this time, it will probably be too thick to do anything with, so throw it back in the microwave for another five seconds. When it comes out, add the food coloring and mix it around. To make the pink/red in the bow, I only put one drop of regular liquid food coloring in there. If you want it to be more intense, you could always add more. You can also paint the dried gelatin afterward, with a mixture of high proof vodka and food coloring, so if it dries a lighter color than you anticipated, it’s not a total loss. If you do paint it, the gelatin will warp when it gets wet. Make sure you have two non stick surfaces you can sandwich it between, and put a book or something on top until it dries again.
Once you have it the right color, dip your paint brush in the gelatin and paint it onto the non-stick surface, like this:

I made mine pretty thin, stretching the gelatin to cover two and a half boards, which worked out perfectly for the bow, which measured about five inches across. If you want the bow to be bigger or smaller, you can alter the amount.
My original surface had a simple pattern on it, so it came off pretty easily. Be careful with patterns that are deeper. They’ll cause the gelatin to pool in certain spots, which will make it pretty difficult to peel off the board without cracking it.
Now you wait. It will begin to harden up pretty quickly, but it takes about 12 hours to fully dry. You’ll know it’s dry because you’ll hear it popping off the board. The first time this happened, I walked all over the house trying to figure out what that crackling noise was. I figured it out about a half an hour into the search. I felt like a moron.
The second time I made this, I made sure to paint it on at night so it would be dry the next morning.
Now that it’s all dry (and weirdly plastic like), slowly pull it off the board. It’s amazingly strong, so you don’t have to worry too much about ripping or cracking it.
Take out a pair of clean scissors (you could even use fancy craft scissors) and clean up the edges so it’s a nice rectangle. Then, cut the rectangles into strips. Mine were about half an inch thick. Like so:
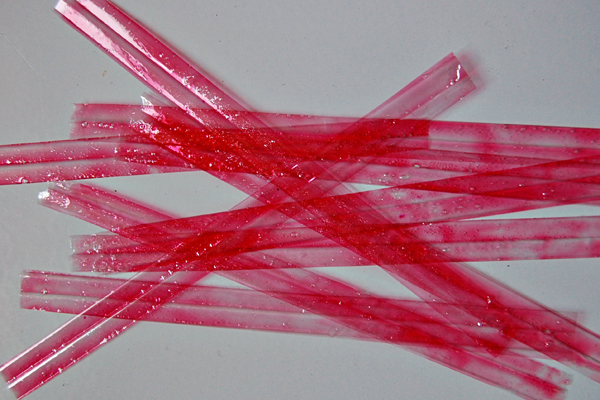 This is where it gets a little trickier. Take the strip and bend it in half, trying not to crease it anywhere. You kind of have to fidget with it to get it right. Once it looks good, warm up some more of the gelatin (if you have some left over. If you don’t, make a tiny bit more) and dip the opposite end of your paint brush in it, and put a dot of the gelatin where you want the edges of the bow to attach. Just pretend it’s Elmer’s glue. You might have to hold it there for a little while until it stays stuck, of you could use paper clips like I did:
 While those are drying, trim a little bit off the ends of the strips you have left, and make smaller loops. And then do it again with even smaller loops. While you wait for those to dry, you can begin assembling the larger ones, if you feel they’re stable enough. Use some of the gelatin to glue the edges together, forming a star with the loops, kind of like this:
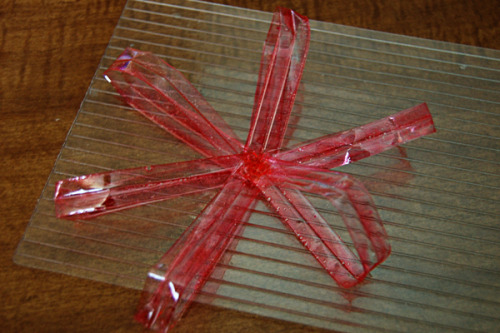
Make sure you glue everything together on top of your non-stick surface, or you’ll end up chiseling gelatin off your table. (Not that I’d know first hand or anything…)
Once that’s stable, add in the smaller ones on top of the first row, but still in between them so it looks well spaced. Repeat. You kind of have to mess around with it to see what looks best. Keep adding the loops until you feel like it’s nice and full. Also, make sure to give yourself time between each major addition, so it doesn’t all fall apart on you.
Let it dry over night.When it’s totally dry, you’d be surprised how durable it is! Now you can put it on top of a cake! I used a couple dabs of corn syrup to make it stick.
Here’s a picture of the finished bow before it went on the cake:
 ...and here's the cake again.
 Hope you enjoyed this tutorial! For more awesome, visit Nellie Cakes!
