Bye, Spy

Dear Readers: After nearly 11 years, I've decided to lovingly say goodbye to CakeSpy. 

Note: I had a few friends create these illustrations, inspired by CakeSpy and me over the years. Thank you Caleigh, Sam, Jenna, Kate, and Susan! 

Before I say anything else, I want to say thank you.

A big out-loud thank you to YOU, if you're reading this right now...or a silent thank you that you might not even know about, sent out into the universe to every single person who has ever ever read this site at any point over the past ten and slightly more than a half years.

If at any point in those years you have clicked over to this site, you have been part of its story. If you've purchased my art or one of my books, you've been part of my modest yet (to me) amazing success.

For that, simple words of thanks are hardly sufficient. But I want you to know that I am truly thankful from the deepest and most tender parts of my heart. I mean, who the hell am I to have blogged about cake for 11 years? Nobody. It's you who made me somebody, dear readers and friends. And I love you for it, and always will. 

The Story of CakeSpy

Nearly eleven years ago, I lived in Seattle. I had just gotten married. I lived in a cool little apartment in Queen Anne, near the Space Needle. I was also sub-clinical anorexic (more on that in a minute). I worked at a greeting card company, where I was the product manager/art director of the refrigerator magnet division. Having reached a point where I couldn't advance much further in that career, I decided to start my own company.  

I was reading a creative-inspirational book called The Purple Cow at the time, from which I got the idea that rather than starting a company that I thought made sense, I should design a company aligned with my interests. I remember taking a half-day off of work and taking a walk to the Olympic Sculpture Park, where I sat down by a big ampersand sculpture, and having a mini meeting with myself wherein I thought "Well, Jessie, what would your ideal company include?"

(Note: as a little aside, years later, when the book The Purple Cow was reissued, it included reader shout-outs to businesses that inspired them. CakeSpy was one of the businesses mentioned! That was a beautiful thing! Pictured below...)

The answers came to me with startling ease: 

WRITING.

ILLUSTRATING.

BAKED GOODS. 

Not to sound creepy, but it's like some godly voice simply spoke these words out loud to me, they were so clear. 

The former two, writing and illustrating, made perfect sense. Though never trained as a writer, I've always been a natural writer. At the time, I had recently begun my first freelance writing assignment, for a now-defunct yet pioneering website called DailyCandy. Art-wise, I had studied illustration in college, and art has always been an important part of my soul. 

Baked goods were the odd man out, because honestly, at the time I didn't even know how to bake. I knew that I thought about baked goods a lot though, and that even in my most restrictive eating days, I would reserve calories for sweets above anything else. It would not be unusual, for instance, for me to eat a cupcake as my main meal of the day and then eat basically as little else as possible to remain alive. 

I didn't know how on earth writing, illustrating, and baked goods could possibly form a business, so I decided to start a blog so I could figure it out. That's when the magic started happening. 

I decided on the name CakeSpy because it sounded a little mysterious, but also not super specific. Like, it gave me room to explore baked goods but also room to grow, unlike if I called the website "Jessie Loves Cupcakes" or something.

Now, to give you a little context, the blogging world was way different in 2007. Basically, every food blogger knew each other. That's an exaggeration, but really not by much. Our photos basically all sucked, and our content wasn't super polished. Search optimization? Never heard of it. Sponsored posts? Never even entered my mind. 

But there was this kind of raw energy to blogging in these pioneering days. It was exciting. It wasn't unusual for me to stay up until 3am working on posts, simply because I was just so EXCITED about creating things. People would walk by my apartment building in Queen Anne at night and say that they saw me through the big picture window, on my computer, well into the night, when they were walking home from the bar. As a blogger, you were like a producer, writer, and director. You were making things happen. 

In not too much time at all, CakeSpy began to take off. It wasn't quite like any other blog. I had a unique voice, I had illustrations, I had a funny way of approaching things. I began to be noticed. I was featured on Serious Eats, which was a huge deal; I began to be noticed by local press. I was becoming Known.

Meantime, in my personal life, I was still struggling with disordered eating. I believe that CakeSpy was also pivotal in my recovery. As I began to explore baking and working with food, I began to lose my fear of eating, and I began to embrace food (and life) a little bit more. In retrospect, I think of the commencement of CakeSpy as phase one of my recovery. 

I began to believe in myself and my abilities more. I kept on gaining exposure and doing things with my site. To tell you the truth, I became kind of an internet celeb for a while. 

I took over an art gallery in Seattle for a time (remember CakeSpy Shop?). I got a book deal. Then I got another book deal. 

In my personal life, I still struggled in various ways. I got divorced and decided to close the store I'd co-owned with my husband. That was a pivotal time in my life; unfortunately I suffered from a big eating disorder relapse. I moved to Philadelphia to be closer to my family and to try to heal.

After a year in Philadelphia, as I began to emerge from my relapse, I moved to Santa Fe with a new partner. It was supposed to be for a few months but ended up being a few years. During that time, I really got into yoga, which I credit as a big part of commencing my true and earnest eating disorder recovery. It was during this time that I "came out" as a disordered eater on this website. 

All the while, I kept on keeping on with CakeSpy.

I ended up going to Asheville to do a yoga teacher training, and liked it so much that I went back to live there for a while. 

And still, I kept on being CakeSpy. 

Last year, following a sad breakup, I moved back to Philadelphia, which is where I believe that my "rebirth" began several years ago following my divorce. I bought myself a little house on a street that I lovingly call Cannoli Row. Here's a picture of the mural I painted inside: 

As I have found myself in my new and true home, I have begun truly thinking about who I am, and who I want to be. And I've had a big yet bittersweet realization:

My journey with CakeSpy has come to an end. 

As you can see by reading the above, I have gone through some monumental changes in life throughout the time that I have operated CakeSpy. Simply put, as I continue to navigate life, love, and recovery, CakeSpy no longer feels like the most authentic expression of who I am. It is no longer aligned with my mentality toward recovery, nutrition, or lifestyle. I truly believe that while when I started CakeSpy it helped me take my first steps toward eating disorder recovery; however, now, to continue my journey, I must lovingly let it go. 

I will always love CakeSpy, and I am alternately awed, thankful, surprised, and humbled by the wonderful things that have happened here. But now, it's time to move on to other things. 

So what now? 

1. I'm probably going to cry a little (gawd, so weepy)

2. Early next week, I'm going to switch the main focus of this site to an expanded format for Unicorn Love, which is currently my eating disorder section of the site. I am going to adapt the content and see how it goes, incorporating more art and life writing. Next week, I will also expand on the changes in my life, eating, and more of the reasons why I am making this shift, if you're interested. 

So, the idea is that if you come to this site in the future, you'll see a site called Unicorn Love, which will have the CakeSpy archives still accessible. 

3. I'm going to switch my social media pages over to Unicorn Love as well (or I may create new ones, let's see how it goes with all that). 

Well, my friends, it's been realer than real. Thank you so much for being part of the CakeSpy story. I love you so much. 

Love love love,

Jessie (AKA CakeSpy) 

Free Unicorn Coloring Book Page!

Happy Monday! Today, I'd like to offer you a sweet little freebie: a FREE Unicorn Coloring Book Page! If I did this correctly, you can click below and be guided to my Google Drive page to download it for free. 

Of course, if you love it, you may also adore my published coloring books, which are both available for purchase on Amazon: The Unicorn Coloring Book, and Another Unicorn Coloring Book. Links below too! 

What's the best that could happen?

10 Things to Do With Chocolate Shot Glasses

Guess what? Recently, I received a package containing CHOCOLATE SHOT GLASSES.

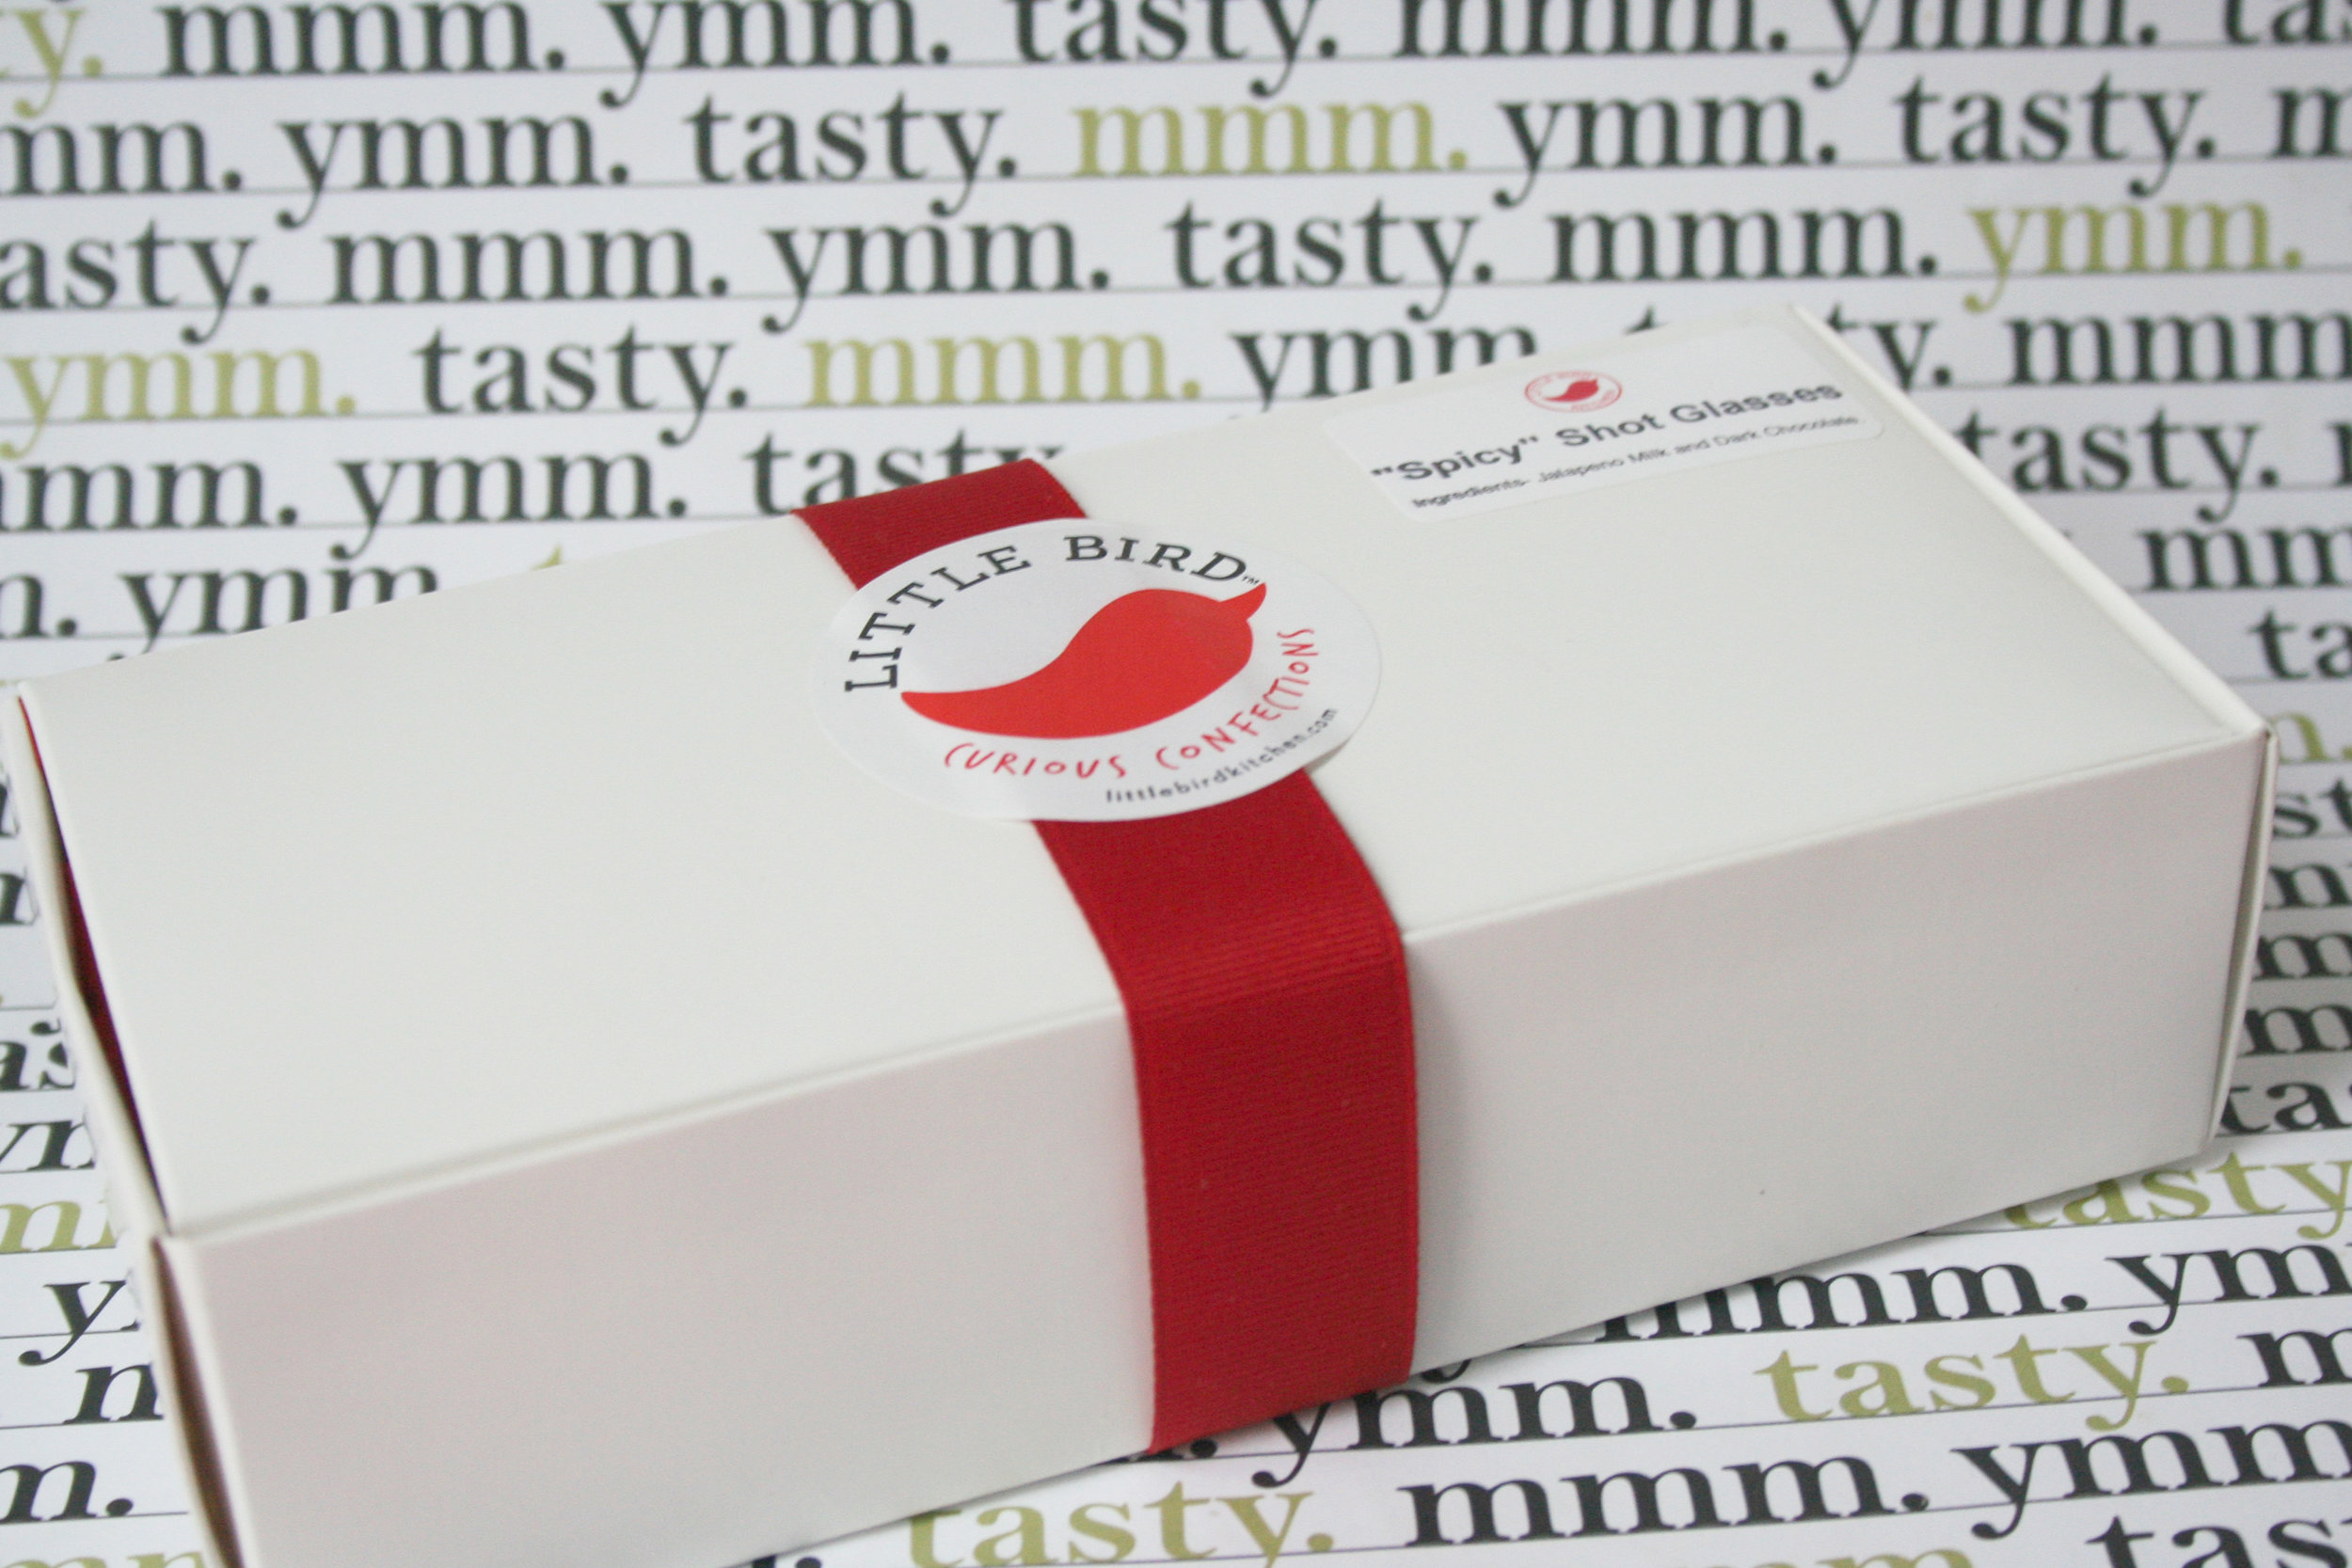
The package was sent to me by Little Bird, a purveyor of "curious confections". They sent me their spicy jalapeno chocolate shot glasses in milk and dark chocolate. Note: they haven't paid me to write this post, but they did send me the parcel at no charge. 

These shot glasses are alarmingly adorable, and delightfully edible. I am just tickled by the idea! The spicy version is great if you like your sweets with a contrasting kick.

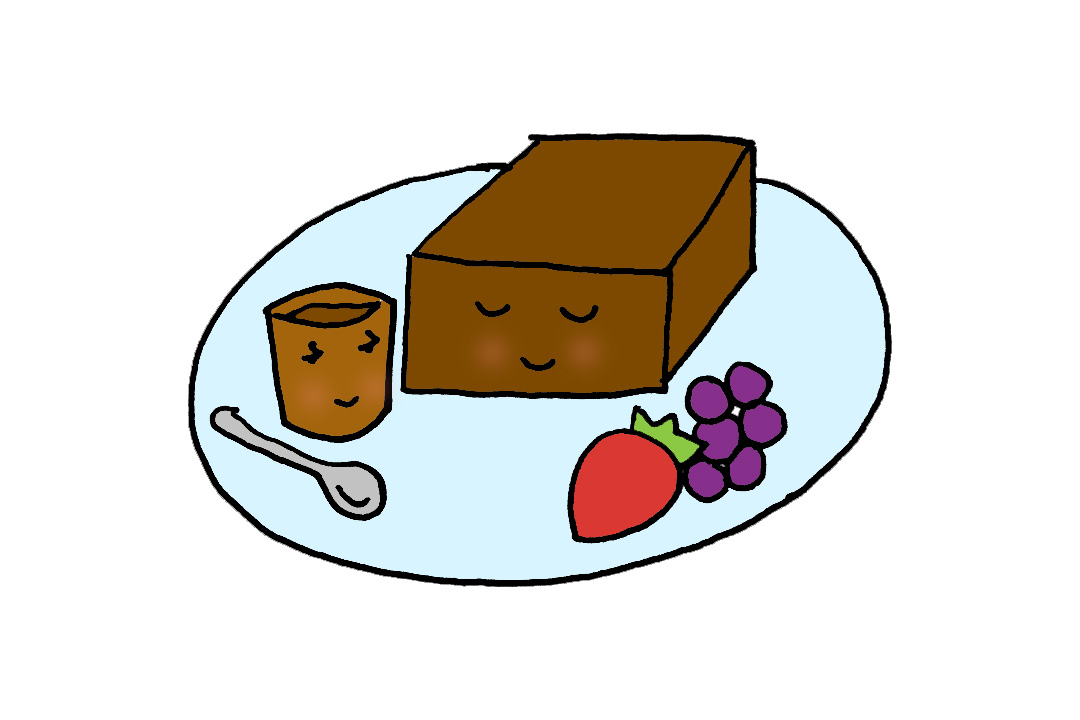
But even more than the flavor, what I really got to thinking about with these chocolate shot glasses was the many ways in which they could be creatively used. So here, I'm going to detail 10 awesome ideas for what you could do with these shot glasses! 

1. M-m-m-ilk shots!

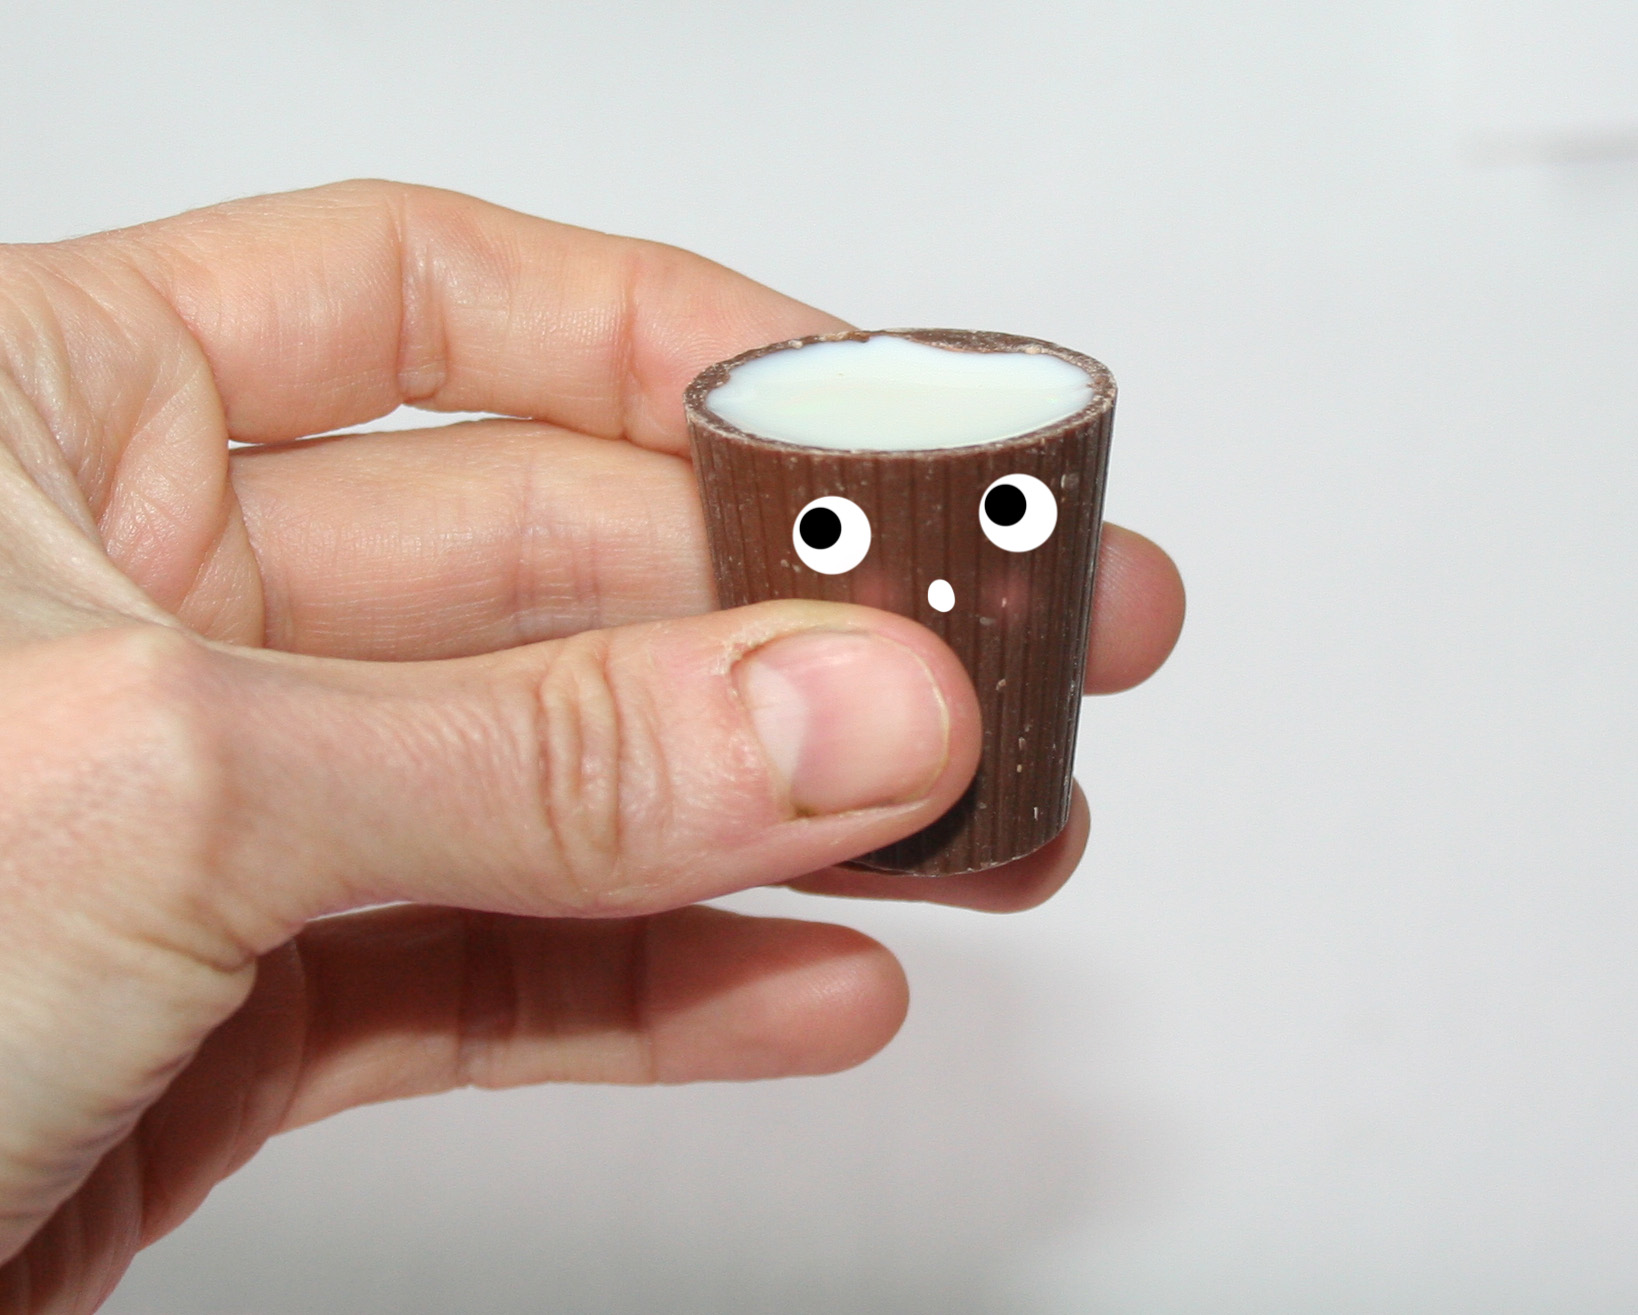
Plain and simple, shoot the milk then eat the cup. Pictured at the top of the post.

2. Ganache shots. 

Good idea: fill your chocolate shot glasses with more chocolate. You're welcome.


3. Whipped cream shots. 

Forget eating whipped cream from the can, unless the can is made of chocolate! Eat it from a chocolate shot glass instead. 

4. Molecular gastronomy s'mores. 

I promise I wasn't high or anything, but I had this vision of toasting a marshmallow, doming a chocolate shot glass on top (to make it all gooey and warm) and then smashing it all between two graham crackers. It was a beautiful thought. 

5. Tiny dessert servings.

My my, aren't you dainty. A tiny portion of cake would sit pretty in one of these shot glasses.

6. Fill them and then bake them in cupcakes. 

Perhaps inspired by my friend Megan Seling, I thought about putting one of these shot glasses (filled with candy of course) into some cupcake batter then baking it up. It seemed like a not-bad idea to me. 

7. Frosting shooters. 

I figured, some people (like my sister) just lick the frosting off of cake. Maybe this would be a better delivery system?

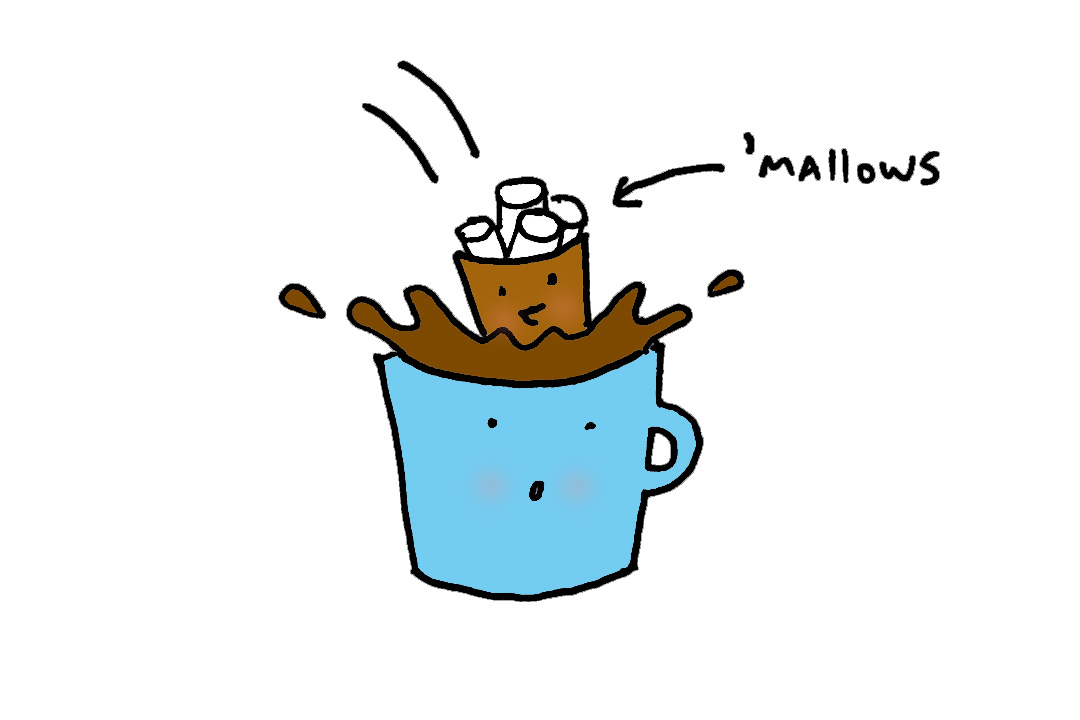
8. Drop a shot of marshmallows or whipped cream into your hot chocolate. 

I thought that this could be a great idea: fill a chocolate shot glass with marshmallows, then pop it into your hot chocolate. It seems like it could delay the melting and distribution of the marshmallows just enough to heighten the experience; plus, more chocolate. 

9. Ice cream topper. 

Well, that's a cute idea. 

10. Cute dessert serving sauce tool. 

What an elegant way to serve a little sauce alongside a dessert!

What's your favorite idea for using chocolate shot glasses?


How to Make Choux Pastry

Q: What do you call a unicorn combined with a cream puff? 

A: A CHOUXNICORN! 

You might feel like you have no idea what pâte à choux is, but trust me, you've had it before. It's the dough that's used to make, among other things, cream puffs and eclairs. It's a good thing to know how to make, as it offers many delicious rewards AND let's face it, people are always impressed when you can make something French.

This is my adaptation of a recipe I originally found on Eugenie Kitchen. I've made a few tweaks that make it a little different just in ways that suit my personal style (ie I am lazy), but she is clearly an incredible baker and provided the perfect template and recipe ratios! 

Everyone should have a great pâte à choux recipe in their repertoire. Here's mine! 

Pâte à Choux

  • 1/4 cup (1/2 stick) unsalted butter, cut into pieces 
  • ½ cup water 
  • 1/2 teaspoon salt 
  • 1/2 cup plus 1 tablespoon all purpose flour
  • 2 eggs, lightly beaten

In a thick-bottomed saucepan, combine the butter, water, and salt. Heat over medium until the butter is totally melted and the mixture begins to boil. Remove from heat, and stir in the flour immediately. 

Put the pan back on low heat, and cook until it easily forms into a ball (this won't take long at all, a minute or maybe less). Let it cool slightly (for just 2-3 minutes) so it doesn't scramble your eggs in the next step. 

Now, you want to incorporate the eggs into the mixture. Me, I did this by putting the choux dough in a stand mixer fitted with the paddle attachment, starting to mix on low, and slowly pouring in the egg mixture. Stir until the mixture is thick, cohesive, and shiny. 

Now, your pâte à choux is ready to use! Spoon mounds of it onto a parchment-lined baking sheet, or load it into a piping bag and pipe portions on to the sheet. You want them to be nice and mounded so that you get that "puff" that makes cream puffs so special. This dough can be used to make cream puffs, eclairs, or other pastries like profiteroles or religieuse. 

To bake your pâte à choux, bake in a preheated 375 degree oven. In general, the bake time will be 15-20 minutes, depending on the size of your pastries. 

If you make bigger portions, you do run the risk of your pastries deflating after they're removed from heat. Personally I don't sweat this, I just slice 'em open and fill them with more cream. 

Have you ever made pâte à choux?

Another Family's Classic Cornstarch Pudding Recipe

You down with OPP? Yeah you know ME! 

Allow me to clarify: when I say "OPP" I mean, of course, "other people's pudding". And I don't mean it as a euphemism.

I literally mean that I am, in fact, down with making and eating other people's pudding recipes.

Case in point: this classic cornstarch pudding recipe. It's a reader's family recipe, originally from Edie Bliss. It shared with me, and I made it, and I want to share the recipe with you.

Let me tell you how it went down. 

So, I have this Facebook page for CakeSpy, and one of my favorite things to do there is to ask people's opinions on various dessert-related things. For instance, I might ask "what is your favorite cake to enjoy with cream cheese frosting?" or something along those lines. I love reading people's responses. If you like talking about stuff like that, definitely check out my Facebook page! 

On a recent crowd-sourcing conversation with readers, someone mentioned a unique pudding recipe in their family archives which includes vanilla, almond, AND lemon extracts. I was like "ooh!". 

Sure enough, not long later, that reader's daughter sent along the recipe! (title of the email I received: "Subject: My Mother's Pudding Recipe That You Were Interested In: Cornstarch Pudding").

I made it yesterday, and I have to tell you, this pudding is very, very special.

For one thing, it's crazy-easy to make. You need like, zero skills and five minutes, and you can make this pudding, and it is glorious.

It is delicious and tastes like it took way more skill and time than it really did.

For another thing, it's delicious. I love recipes with lemon, almond, OR vanilla extract, but I don't believe I have ever combined all three in one recipe. While the pudding looks like a standard vanilla pudding, it has a truly unique flavor which has echoes of almond and lemon and will truly intrigue your taste buds!

Perhaps more importantly, I loved the intimate look that this recipe gave me into another family's traditions. Part of what makes foods so special is who you share them with, so for me, this was a beautiful way to interact with readers and see what type of food is part of their loving memories. It makes my heart sparkle, the very thought! 

In terms of eating: I loved this pudding still warm, but it's also great chilled. 

Thanks to Juli and Judi for sharing this recipe! It's a keeper, for sure. I'm keeping the recipe formatted just as it was sent! 

Cornstarch pudding

4 servings 

  • 1/3 C. sugar
  • 3 Tbsp. cornstarch 
  • ¼ tsp. salt


Mix these three together in a medium-size pan.

  • 2 egg yolks

Add to sugar mixture, and mix again.

  • 2 C. milk (2% or whole)

Add very gradually and stir well. Cook until it bubbles.

  • 1 tsp. vanilla extract
  • ½ tsp. lemon extract 
  • ¼ tsp. almond extract

Remove pudding from heat and stir in.


Variation:

For chocolate pudding, add 4 ozs. melted bitter chocolate and increase sugar by ¼ C. Omit almond and lemon extracts.

(Mom used the leftover egg whites to make meringue cookies or something else. Nothing went to waste!)

Do you have a favorite pudding recipe in your family?

Funfetti Explosion Birthday Ice Cream Cake

If you were a unicorn, what would you be eating at right this very minute? I can tell you what I'd be eating. THIS:

Reprinted with permission from Secret-Layer Cakes by Dini Kodippili, Page Street Publishing Co. Photo credit: Kodippili

This splendid and magnificent thing is called "Funfetti Explosion Birthday Ice Cream Cake," and it is featured in the new book Secret-Layer Cakes by Dini Kodippili. Oh, you might know her as the celeb blogger behind The Flavor Bender. I'm kind of friends with her. It's no big (it's totally a big!). 

I should also tell you that recently, Dini made some donuts inspired by MY recent book, Stuff Unicorns Love. Be sure to check out that post, too! 

Her publisher was kind enough to grant permission for me to share this incredible masterpiece on CakeSpy. Please, promise me you'll make it every day? Here's the headnote from Dini and then the recipe. Enjoy! 


Funfetti Explosion Birthday Ice Cream Cake

This cake looks like a funfetti cannon exploded all over it. Kids love rainbow colors and funfetti, so it'll be perfect for a summer birthday party! A fudgy blondie layer is packed with funfetti and topped with a cake batter-flavored funfetti ice cream layer. Top it with some sparklers to complete the look. 

Makes one 8-inch (20-cm) cake

Funfetti Blondie Layer

  • 170 g (6 oz) unsalted butter
  • ½ tsp salt
  • 250 g (8.8 oz) brown sugar
  • 2 eggs
  • 1 tsp vanilla extract
  • 175 g (6.2 oz) all-purpose flour
  • ½ cup (113 g) funfetti (rainbow) sprinkles

Funfetti Cake Batter Ice Cream Layer

  • ¼ cup (59 ml) whipping cream
  • ¼ cup (61 g) milk powder
  • 1 tsp vanilla extract
  • 1.9 L (64 oz [4 pints]) vanilla ice cream, softened
  • 1½ cups (339 g) funfetti (rainbow) sprinkles

Stabilized Whipped Cream

  • ½ cup (118 ml) water
  • 3¾ tsp (19 g) powdered gelatin
  • 5 cups (1 L) plus 1–2 tbsp (15-30 ml) chilled whipping cream, divided
  • 1 cup (130 g) confectioners’ sugar
  • Red, orange, yellow, green, blue and purple gel food coloring

To Decorate

  • Funfetti sprinkles
  • M&M’s® candies

Funfetti Blondie Layer

Preheat the oven to 350°F (180°C). Butter an 8-inch (20-cm) wide, 3-inch (8-cm) tall springform pan. Line the bottom with parchment paper and dust the sides with flour. Melt the butter, salt and brown sugar in a heatproof bowl in 30-second intervals in the microwave. Stir to form a smooth butter-sugar mixture. Set aside to let cool slightly.

Once the butter-sugar mix has cooled, add the eggs, one at a time, whisking well after each addition. Stir in the vanilla and the flour. Fold in the funfetti sprinkles.

Pour the batter into the prepared pan and bake for 25 to 30 minutes (the blondie should still be soft and fudgy in the middle). Let the blondie cool in the pan.

When it has cooled, line the sides with parchment paper or acetate paper. Refrigerate the blondie layer until the ice cream is ready.

Funfetti Cake Batter Ice Cream Layer

Microwave the cream until it’s warm, but not hot. Add the milk powder and dissolve it completely. Add the vanilla and stir to combine. Let cool.

Place the softened vanilla ice cream in a bowl, add the cooled milk powder mixture and stir to combine. Fold in the funfetti sprinkles. Spread the ice cream over the funfetti blondie.

Place the ice cream in the freezer until it freezes and hardens completely. This makes it easier to frost the cake quickly.

Stabilized Whipped Cream

Place the water in a small bowl and evenly sprinkle the gelatin over it. Set aside for 10 to 15 minutes to let the gelatin bloom. Microwave the bloomed gelatin in 10-second intervals, stirring in between, until the gelatin is completely dissolved (making sure that the gelatin does not boil).

Add 5 cups (1.2 L) of the chilled whipping cream and confectioners’ sugar to a cold bowl. Whisk with the whisk attachment of your hand mixer on medium speed. Add the remaining 1 to 2 tablespoons (15 to 30 ml) of chilled cream to the hot, dissolved gelatin and stir to temper the gelatin. Add this gradually to the cream that is being whipped (being careful to pour it near the whisk, so that the gelatin gets mixed in with the cream immediately!). Whisk gently until you get soft peaks that still hold their shape. Use immediately.

Work quickly to frost the frozen ice cream cake. Divide the whipped cream into 7 portions, then combine two to make one larger portion (so that you have 5 small portions and 1 double portion). Color the small portions with red, orange, yellow, green and blue gel food coloring. Color the double portion with purple.

Decorate

Remove the completely frozen funfetti ice cream cake from the freezer, and unmold from the springform pan.

Spread the whipped cream on the sides of the cake to create a rainbow pattern—either rainbow patches, or rainbow ombre stripes—starting with red at the bottom and purple at the top edge and on the top of the cake.

You can use the leftover whipped cream to pipe rainbow swirls on top of the cake as well.

Sprinkle some funfetti sprinkles and M&M's on top (in the center). Return the cake to the freezer until you’re ready to serve. 

Who in your life needs this cake? 

People Love Stuff Unicorns Love!

Today, I'd like to discuss a subject near and dear to me: namely, how great I am.

Joking aside, I must say with all honesty that I've been humbled and absolutely delighted by some of the wonderful accolades which have been heaped upon my newest book, Stuff Unicorns Love.

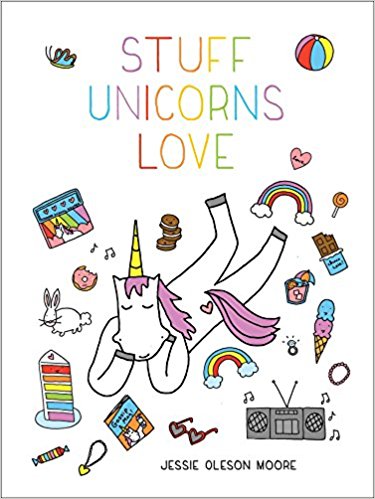
If you're not familiar with my book, allow me to share the cover...

and the Amazon synopsis:

"A whimsical, humorous imagining of what unicorns really think and what they truly love—including recipes for unicorn food, crafts, and the history of these mythical creatures.

Glitter. Sparkles. Rainbows and shimmering manes. Sure, unicorns are magical, and their reputations have taken the world by storm, but how much do we know about what unicorns reallythink? What’s their favorite cookie? What about their favorite color? Would they really drink that pastel milkshake you found on Pinterest?

They sure would!

In Stuff Unicorns Love, you’ll get a guided tour of unicorns’ most treasured things straight from a unicorn’s mouth—from food recipes and crafts to beauty tips and their favorite activities.

Learn the truth about these adorable (and painfully honest) creatures, as well as the facts behind their origins. With illustrations and tons of fascinating unicorn facts throughout, this is a perfect gift for unicorn lovers of all ages."

I know, pretty great, right?

Well, I have to say that this is my absolute favorite book project to date. It's like the content just poured directly from my heart and soul onto the page. In that way, it was probably the easiest project I've ever worked on; I never had to seek out the muse, it was always there. As any writer or artist knows, that is the best kind of flow you can ask for! 

While the book has only been out a month and a half, it's already received some very kind words.

I'd like to share some of the kind reviews and attentions the book has gotten, if you'd care to listen. If you've purchased the book (or even received it), would you consider leaving a review on Amazon? You don't need to have purchased it from Amazon to review it. Any review or bit of attention is hugely helpful to me, and I appreciate it! 

The Flavor Bender: OMG. Dini of The Flavor Bender made the amazing donuts pictured at the top of the post, INSPIRED BY MY BOOK! You must click over to the recipe post, and you must buy HER book, which also recently dropped: Secret-Layer Cakes.

Sweet ReciPeas: Peabody (a longtime blog and IRL friend) says some really nice things about me here, and gives you a great recipe. 

The Nerdy Girl Express: A wonderful review that appreciates the joy that is this book! 

That's Normal: an amusing and totally sweet review! 

If I've missed a review that you've posted, let me know and I will add it! And once again: get ye to Amazon! Review my book! 

Love, CakeSpy